Unless you are a survivalist, you are probably not aware of the Dakota Fire Hole, and even some of you who are adventurers may not know about this gem. Sometimes referred to as the Dakota Fire Pit, this way of building a fire is superior over all others. In fact, most people who try one for the first time, never go back to other fire building methods.
The Dakota Fire Hole uses less firewood and fuel to keep it going, even though it may take longer to build and require more effort. It is well worth it in the end when you realize how efficiently it works. The fire is hotter, it requires less maintenance, and is safer than other fires. It is also easier to cook with and has limited smoke. When you want to stay hidden this is a big plus, in addition to the pit concealing the fire flame.
Location
The location in which your build your fire is important. You want soil that is sturdy but soft enough to dig into.
- Do Not try to build in …
–Rocky dirt
-Wet dirt
-Water filling up hole
-Dirt with thick tree roots
-Dry and loose soil
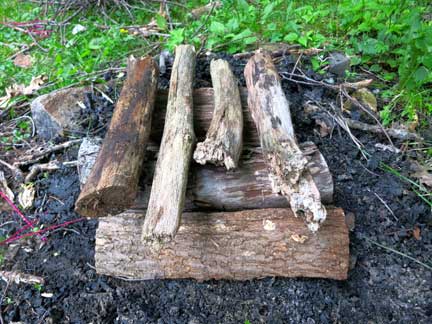
Building Your Dakota Fire Hole
- The Materials:
–Shovel or stick to dig with
- The Hole:
–Dig a circular hole, in grassy dirt, that is about 10 to 12 inches around.
-Dig about on foot deep, and pull the grass plug out to save for later
-At a foot deep, dig a few inches wide going in all directions. This will make room for longer fire wood.
-Now you have 12 foot wide hole that goes down a foot and then gets wider to about 15 inches around.
-The neck is the chimney, and the wider part is for the firewood.
- The Airway
–This is one of the most important parts of the Dakota Fire Hole and what makes it so efficient.
-Determine wind direction by licking a finger and holding it up to the wind. The side that dries fastest is the side the wind is coming from
-The airway will be built on the side from which the wind is blowing.
-At about a foot from your chimney hole, dig a 6 inch wide circular hole. Dig down more than a foot, angling toward the base of your Dakota Hole, and intersect it by digging into it. You should not be able to place your hand in the airway hold and see it appear at the base of your Dakota Hole.
-Add kindling wood to the base of your Dakota Hole, filling it partially.
-Start the fire, preferably with a FireSteel. It will be harder with another kind of lighter.

How It Works
- Hot air rises up the chimney creating a suction that pulls air into the airway tunnel, feeding the fire. Since it’s build on the windward side of the Dakota Hole, there will be sufficient wind.
- With oxygen continually feeding the fire, it burns at a hotter temperature and more effectively than fires that sit on top of the ground.
- You will use less wood to keep it going and the heat is funneled upward towards you.
Cooking
You can easily cook on the Dakota Fire Hole by placing a flat rock partially over the hole to use as a cooking surface. If you have camp gear for cooking, you can place a grill over the hole, or use pans on the hot rock.
Cleanup
This is where the dirt plug comes into play. Shovel dirt into the hold to cover the fire, which will smother it and put it out. Then place the dirt cap on top.
Summary:
A Dakota Fire Hole is great for camping or for survival in the wilderness. When using for camping, you can use your own cooking gear. If you are in a dire situation where you are hiding out and do not want other people to find you, this fire creates the least amount of smoke and the flame is hidden from view at night. When you clean up, there is no trace that you were ever there. The dirt cap hides everything, and you can re-use the hole at a later time.
A fire is essential to any camper or survivalist. It provides warmth and cooking ability. It is important to know how to build a safe fire, and also to learn how to keep it going. You don’t want to be expending all your energy feeding your fire which is why the Dakota Fire Hole is one of the best choices in fire making. Once it is built it is pretty self sufficient, with the airway feeding the flames which burn hotter and longer than a conventional fire. Always be safe and never build a fire near wild fire risk locations.