
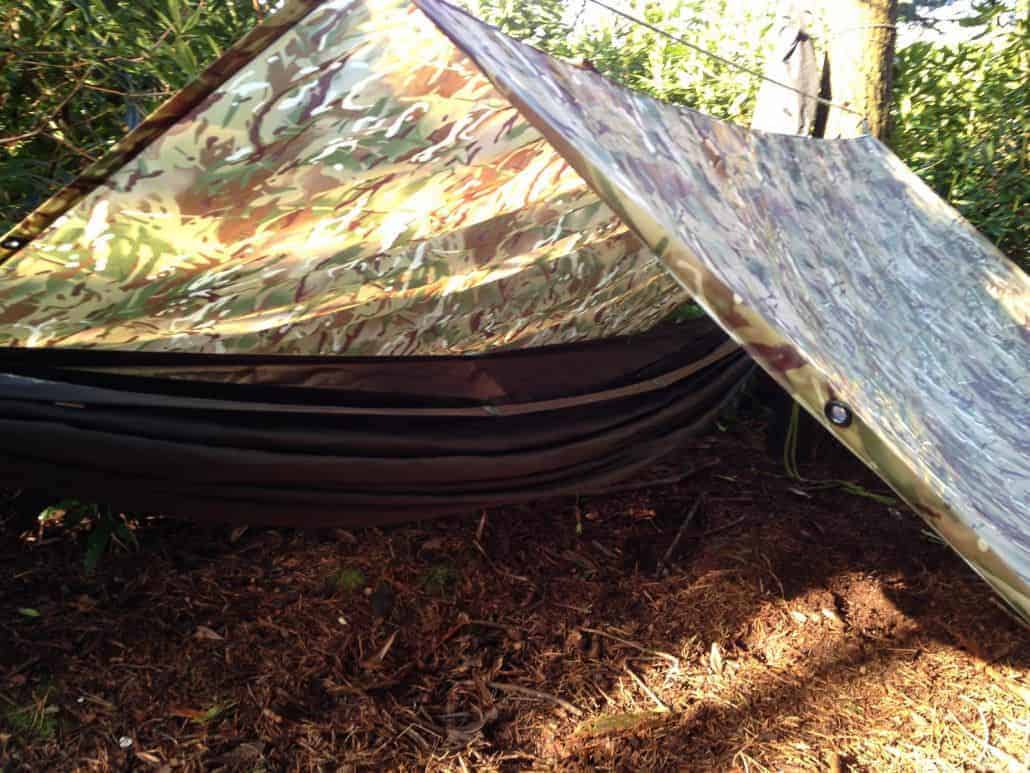
Tarps are a lightweight and extremely versatile alternative to tents. In this blog, we look at setting up a tarp for the solo camper, tarp set-ups for couples and hammock camping for individuals and groups. Read on to find out more.
Camping with tarps is becoming more and more popular. They provide an ultra lightweight method of shelter and, correctly set-up, make for a very comfortable night.
In this week’s blog post we will be introducing tarps and some of the reasons for their recent popularity. We will also show you how to pick the correct area to pitch up, the equipment that you might need, talk about some legal points to keep in mind and then run through some set-ups for solo campers and couples.
You can choose to read the whole blog post or click on the links below to take you to the section that you’re most interested in.
In this week’s blog post we will be introducing tarps and some of the reasons for their recent popularity. We will also show you how to pick the correct area to pitch up, the equipment that you might need, talk about some legal points to keep in mind and then run through some set-ups for solo campers and couples.
You can choose to read the whole blog post or click on the links below to take you to the section that you’re most interested in.
- An introduction to tarps
- Where to camp with your tarp
- Additional equipment considerations
- Solo tarp set ups
- Tarp set ups for couples or groups
An introduction to tarps
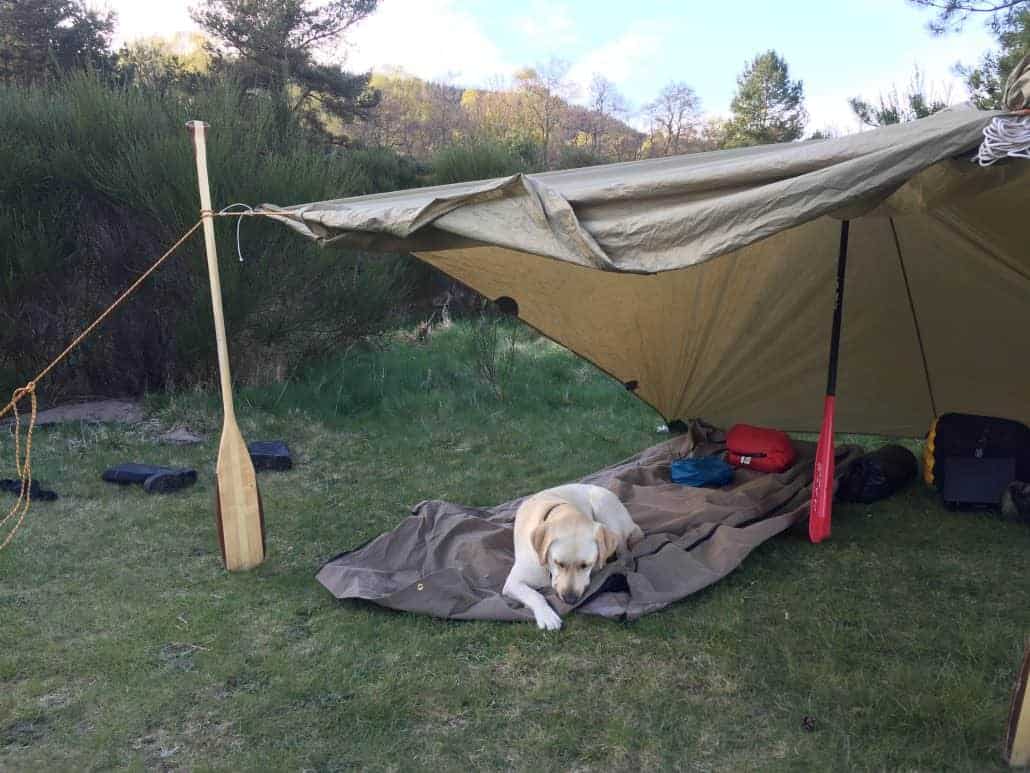
Tarps are incredibly lightweight and versatile. We’ve reviewed the DD Tarp before, and their 3 x 3 metre tarp, along with their ‘magic carpet’ groundsheet, for example, give you have a one/two man shelter that weighs in at under a kilo – 790 grams for the tarp (excluding pegs and lines) and 174 grams for the groundsheet. Even the Hillberg Akto tent, one of the best one-man tents out there, weighs in at 1.6 kgs.
Versatility
While a tarp may not offer all the mod cons of a lightweight backpacking tent it does have one another major advantage, aside from weight, versatility. With enough practice your tarp can be manipulated, origami like, into an almost endless variety of shapes and shelters.
Bivvy camping and hammocks with a tarp
Tarps can be used as a cover when bivvy camping or strung above a hammock when camping off ground. In bushcraft scenarios the tarp’s versatility is even more handy, being used as a windbreak, part of your shelter or even as a layer between you and the ground.
Weight and versatility make the tarp a strong friend
The combination of low-weight and versatility of a tarp make it popular with lightweight backpackers, long distance walkers and bushcraft enthusiasts. Now that we’ve looked at the reasons behind the rising popularity of the tarp let’s look at how you can use it.
Picking the correct area for tarp camping
Provided that you have the landowner’s permission, or are in an area where wild camping is allowed (for information about UK law and wild camping click here) then your location will dictate your shelter. If you’re out on Dartmoor for example, then hammock camping is going to be out of the question. However, in the Scottish forests, sleeping suspended off the floor maybe the perfect set-up.
Take note of the ground
While the location dictates the type of shelter, it is worth paying attention to the surrounding area. As with camping, avoid marshy areas, bottoms of valleys, pitches close to water, or sites where several rivers intersect and other areas prone to flooding.
To learn more about how to choose an ideal spot for setting up camp try our weekend bushcraft course.
Use natural features to your advantage
As with choosing a spot to make your bushcraft shelter look for natural features that you can use to your advantage. Trees that are a convenient distance apart are perfect for a hammock set-up or a lean-to construction. While boulders, cliffs or caves, for example, can also act as part of your shelter.
Avoid potential cold spots
Avoid camping in potential cold spots. Look out for natural signs that indicate a prevalent wind direction, such as windswept tree tops. Ensure that your set-up is side on to this direction, for example, if the wind is N-S then the head and feet of your set-up should face W – E. This will avoid creating a wind tunnel through your camp. Also, try to pitch up midway up any incline as pitching on the top of a hill or ridge will leave you exposed to the elements, while camping at the bottom will mean you don’t benefit from rising hot air.
Additional equipment considerations
When setting out for your first tarp camp there are a number of additional pieces of equipment that you need. What follows is a basic list which you can build on with experience.
Tarp: choosing your tarp
We’re going to be looking at examples of DD tarps in this blog but others are available. A 3 x 3 tarp, such as this one, will be perfectly sufficient for the solo camper both as a ground shelter and as a hammock cover; at a stretch, it could also be used for a couple. An XL tarp, such as this one, measures about 4.5 meters by three will be plenty for a small group or a couple intent on ground dwelling and will work as a single hammock cover.
Hammock: Choosing your hammock
If you’re opting for an off ground dwelling then there are a wide variety of hammocks to choose from. Key considerations include; will the hammock be your primary residence or will it only be used for parts of the trip? Is the design of the hammock suited to your body type? A large man will need a wider hammock than a small woman for example. Do you need a bug net over your hammock or are you not concerned? We’d recommend getting one with a bug net. Is it weight or comfort that is your primary consideration?
All these questions, and many more need to be taken into account when choosing a hammock.
All these questions, and many more need to be taken into account when choosing a hammock.
Paracord and extra pegs
For the majority of set-ups, paracord and pegs will be needed. Choose proper 550lb breaking strain paracord as the internal strands can also, should the need arise, also be used for fishing line or sewing. Paracord can also be used as the suspension for your hammock along with the webbing included in most hammock set-ups.
Setting up a sleeping system
Sleeping in hammocks or under a tarp on the ground is a very different matter to sleeping in a tent. One of the primary issues of hammock camping is heat loss. Compression of your sleeping bag, clothes, etc. can increase the speed of heat loss.
Choose a narrow Thermarest
Ways around this include choosing a Thermarest that is narrower than your hammock or opting for an under-blanket which will also reduce heat loss.
Opt for a central zip bag
Choose a sleeping bag that has a central zip if at all possible, such as these ones from the British Army. This makes for a quicker and easier exit should you wish to get out of your hammock in a set-up.
Wear layers
That most basic of outdoor advice ‘layer up’ goes double for tarp and hammock camping.
Solo tarp set ups

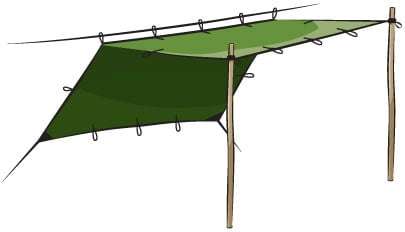
The following set-ups are intended for the solo camper, if traveling in groups these can be replicated by each member. In the section after this one, ‘Tarp set ups for couples or groups’, we show you how you can organise a tarp camp for multiple people.
Remember, when setting up your tarp or hammock be sure to check for dead branches that may fall on you or insect nests nearby.
[All images taken from DD Hammocks and credited as such]
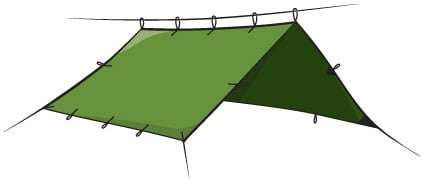
[Copyright: DD Hammocks]
[Copyright: DD Hammocks]
Advanced tarp set ups
The drawings at the end of this blog show some examples of advanced tarp set ups. These drawings are reproduced with the explicit permission of Roger Caffin. Roger Caffin produced these illustrations himself and while they may be used free of charge for NON-COMMERCIAL purposes it is suggested that you contact Roger here should you wish to use these drawings.
Hammock set ups
If you want to get really into proper hammock set ups then have a look at this calculator from The Ultimate Hang; simply input your weight, height, etc. and it will give you all the math you need to find the ‘ultimate hang’ – it even has an app.
Tarp set ups for couples or groups
When it comes to setting up your tarp for couples you can opt for the set ups shown above (except those specifically designed as hammock covers) and simply replicate them with a larger tarp.
Multi-person hammocks
With groups, it is best to either hang your hammocks close together or to opt for a multi-person hammock. Such hammocks, like the Clark Vertex or the Tentsile Stingrayare, as you might expect, heftier than one person alternatives. The Vertex weighs in at nearly 2 kgs (hammock alone, tarp and gear push it closer to 3kgs) and the Stingray, which in fairness is a three person hammock/tent, tips the scales at a whopping 9kg. Most mid-budget three people four season tents, such as the Berghaus Grampian, weigh in at under 5kg.
Get back to nature with bushcraft in the UK
Tarps might be light weight but, to borrow from the old American Indian saying, “knowledge weighs nothing”.


