Showing posts with label dutch oven. Show all posts

Sunday, 16 September 2018

How to Start a Campfire: Ultimate Guide (6 Fire Types, Safety, Gear…) PART 2 Campfire safety tips and cooking gear


 Campfire Safety Tips

It is really important that when planning and creating a campfire, you always consider safety first. While campfires are a fun and a central part of the camping experience, you must plan them carefully because they can also be dangerous if they get out of control, both to you and your camping buddies but also to surrounding human populations and nature.
Before you light your campfire always consider the following:
  1. Check that fires are allowed: If they are prohibited, it goes without saying that you should not light a fire.
  2. The weather in your area: Check the weather conditions in your area and do not light a fire when it is incredibly dry and incredibly windy.
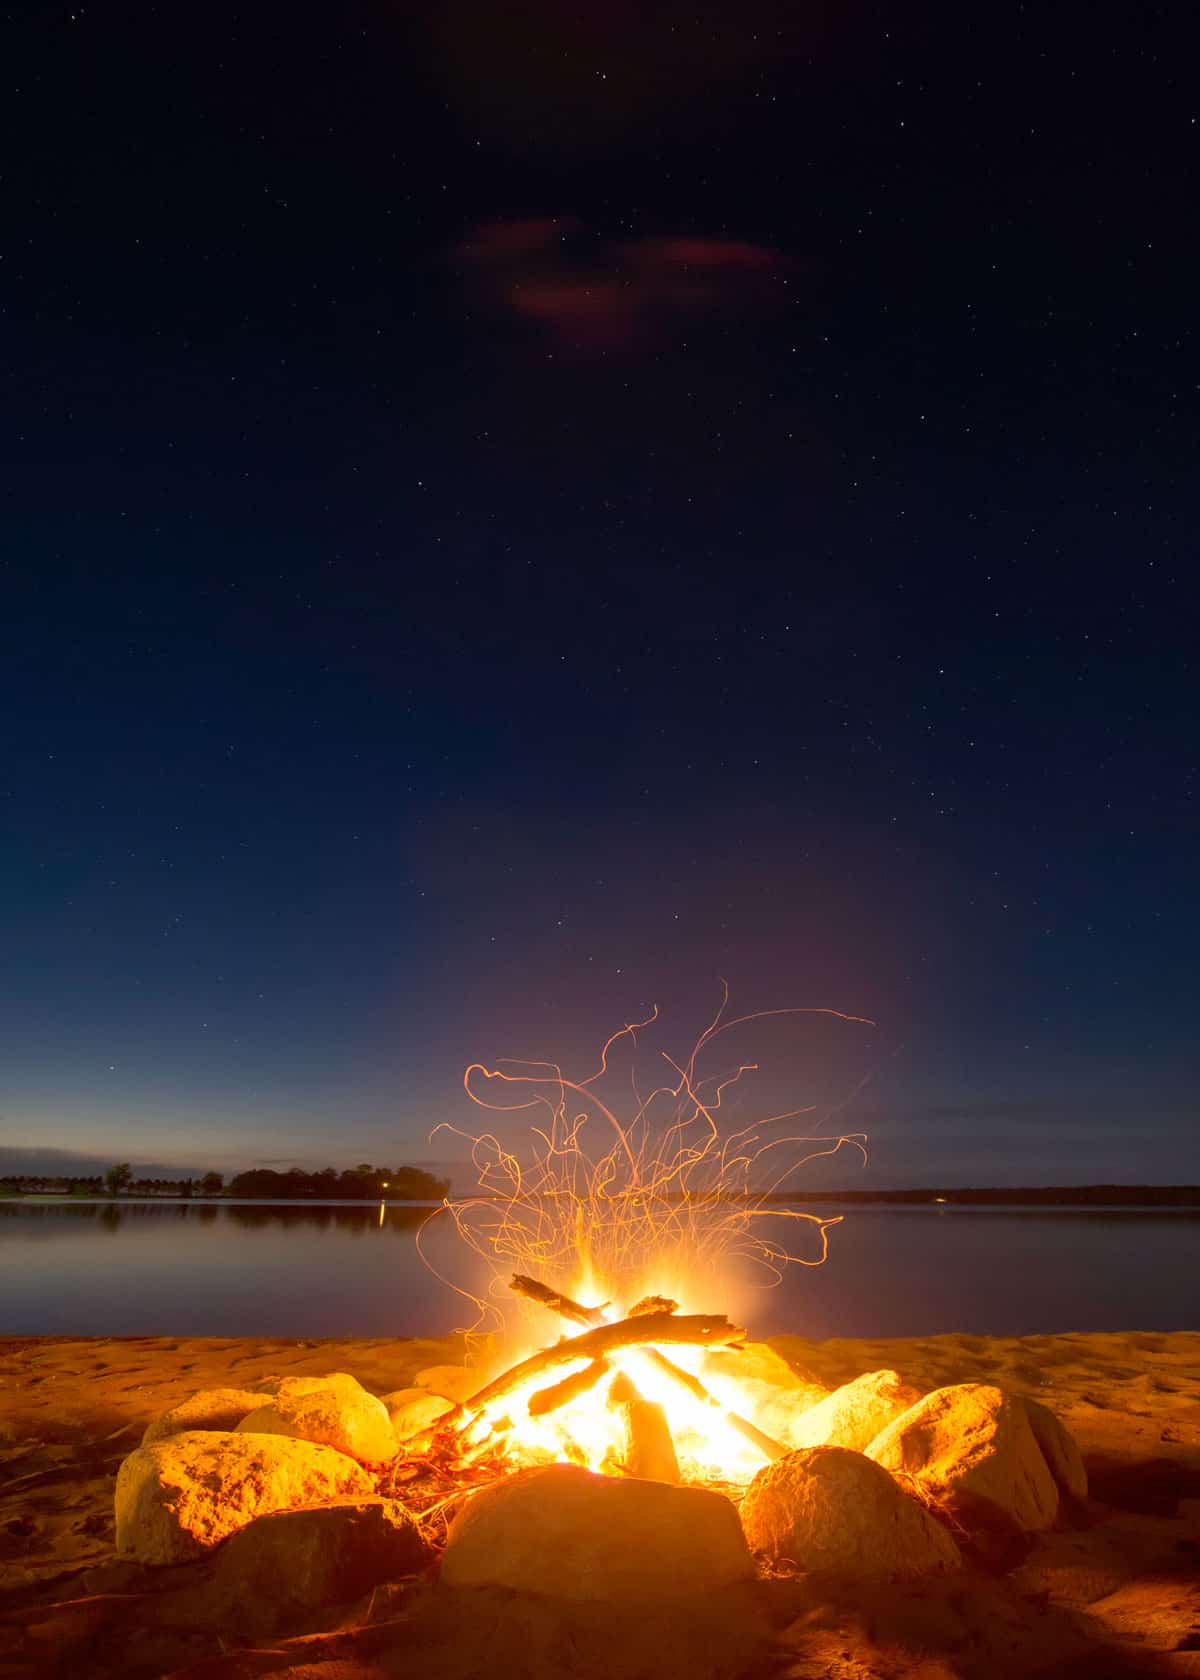
  3. Choose the right location: Ensure that the location is free from flammable vegetation. Use a built fireplace where possible or dig a trench to house the fire and avoid embers jumping out. Ensure the location is at least three meters away from surrounding tents and other items.
  4. Prepare your area: Create a boundary around your campfire using rocks. Clear debris and twigs from around the fire boundary to avoid any fire accidentally spreading.
  5. Do not use flammable liquid: Gasoline or diesel should never be used when starting a fire.
  6. Consider the size of your fire: Keep your fire just big enough for cooking and keeping warm; it should not be unnecessarily large.
  7. Never leave your fire unattended: An adult should be with the fire at all times.
  8. Supervise children and pets at all times: Children and pets cannot be trusted with fire even if they have been around it hundreds of times before. Please never leave them alone with fire or allow them free access to it.
  9. Do not place glass on the fire: This can heat up, pop and hit surrounding people.
  10. Use only fallen and dead wood: If you use the wood of living trees this could damage the environment and is likely to release a lot of smoke.
  11. Always have water nearby: Have a bucket of water nearby the fire at all times in the event of an emergency.
  12. Ensure your campfire is extinguished safely: Ensure that the campfire is totally doused with water and there are no remaining burning embers. Do this before bed and if you are leaving the vicinity. Do not use soil to douse the flames as embers can continue burning underneath.
Campfire tools

Campfire Tools and Gear

Wood: Without wood, there is no campfire. There are three types of wood you will need:
  • Tinder: This is made up of small twigs and dry leaves, as well as grass and needles.
  • Kindling: This is made up of larger sticks and twigs.
  • Fuel: This is made up of larger pieces of wood, ideally as dry as possible

Matches/Lighting equipment

Obviously, you need something to light your fire with. Most people will happily bring along matches and this is totally fine. However, if you are an equipment collector or an avid camper, there are many items out there that you can purchase to light a fire.
Many people are opting for multi-purpose kitchen lighters, like these ones. They are cheap and reliable.
There are also flint strikers that rely on sparks to start a fire, a little bit more caveman if you like that kind of thing. This German product has a lifetime guarantee, and claims to create 5,500˚F sparks every time! It also has a bottle opener and other tools you might need when in the wilderness.

Log Tweezers

I know, it’s a funny name. But once those logs are on there, they are going to be very hot. You’re going to need something to pick them up and move them around as you please, and this is where log tweezers come in.

Grill/Cooking Grate

Assuming you’d like to cook over your campfire, there are a few basics you will definitely need and a cooking grate is one of them. This will allow you to cook fish, meat, and vegetables straight on the fire or rest a skillet on top of to heat water, liquids or cook eggs etc.
It’s a fantastically versatile piece of equipment and for not much, you can pick up a fairly good quality grate. Here is a reasonably priced camp grill on Amazon.
If you want to get really fancy you could include a portable, adjustable rotisserie in your mix! An example is the Texsport Rotisserie Grill and Spit.

Dutch Oven and Cast Iron Skillets

You will probably need some skillets or a dutch oven if you want to heat liquids while you’re away. This combo set is useful because the skillet doubles as a lid for the dutch oven… how handy!
A dutch oven can be used to create some impressive camp meals. Here are 21 dutch oven camping recipes (via countryliving.com)
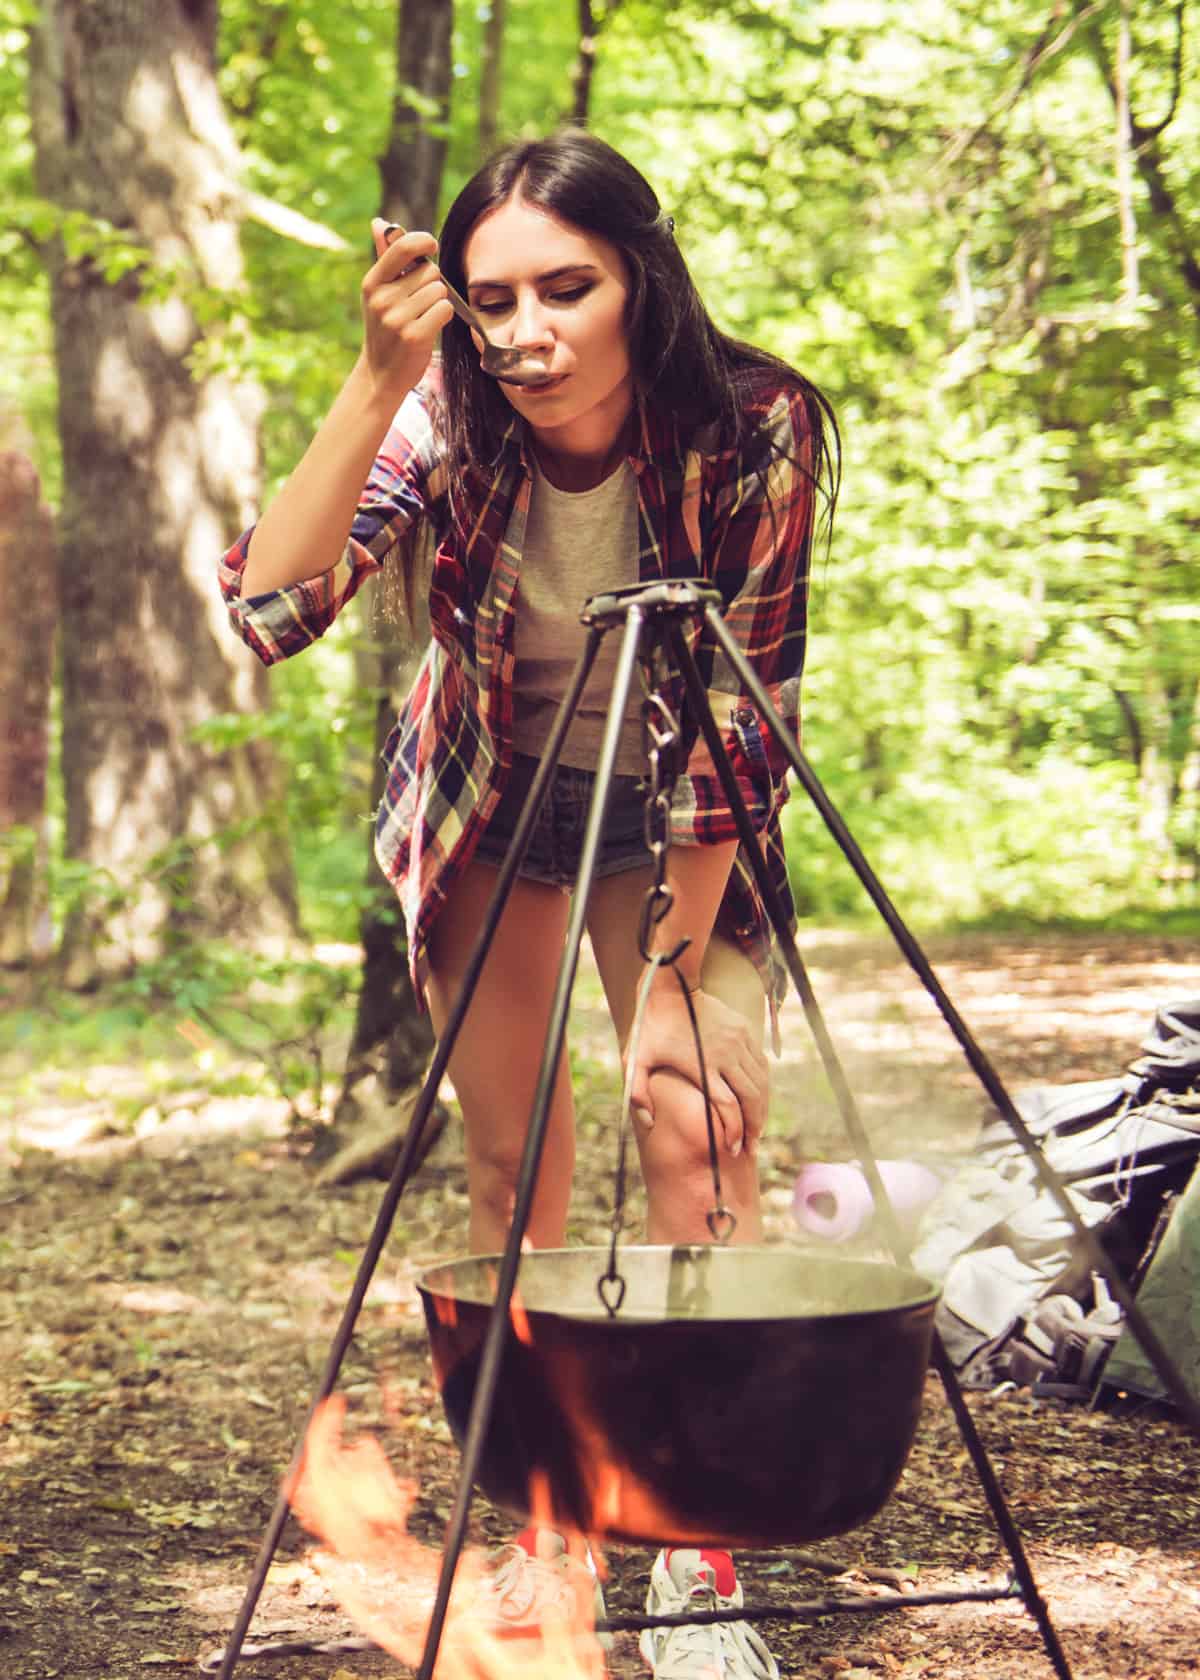
Campfire Tripod

A campfire tripod is handy because if you just want to make a stew or boil a kettle you can set this up and hang any number of containers from it as long as they have a suitable handle.
This tripod goes perfectly with a dutch oven. It also eliminates the problem of creating a level surface to cook on.
Don't forget about a lid lifter (that lid can get crazy hot) and lid stand. They are small and inexpensive but you'll miss them if you forget them.

Oven Mitts

You may have noticed that campfires are very hot. I have been caught out a number of times singeing my arm hair because I forgot to bring along some sort of mitts to remove things cooking from the fire.
You can opt to just bring your oven mitts from home or you can go all out and get some industrial level mitts. I've ruined more than one pair of decent oven mitts from home while camping (spark holes).

Metal Skewers

Metal skewers are an absolutely vital piece of equipment for a campfire. The list of things you can use them for is endless. Cooking meat, veggies, and mushrooms all work great. And because there are no pots/pans, it makes clean up much faster.
I prefer using these to wooden disposable ones for two reasons, the first being that wooden ones don’t last very well in a very hot campfire. The second reason is that you can use metal ones over and over again so they are less wasteful.

Tongs

No campfire cooking session is possible without a pair of tongs. And we’re not talking about a pair of salad tongs either. These tongs need to be substantial, a considerable length because you don’t want to be having to stick your hands in the fire.
Report this ad

Aluminum Foil

Aluminum foil is a very handy item to have as it allows you to wrap and cook all sorts of things up to avoid them becoming charcoal before they are cooked through. Examples include potatoes, fish, and vegetables.

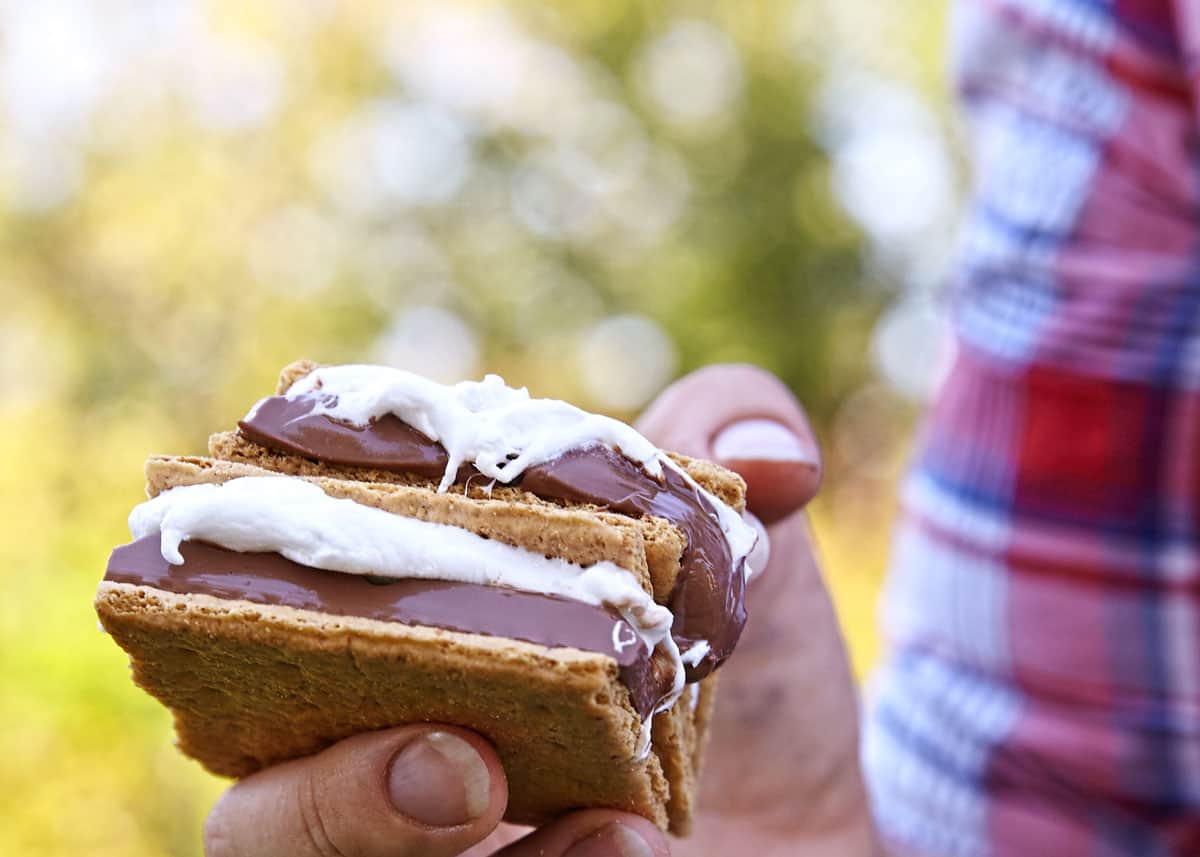
S'mores Ingredients!

Repeat along with me. Graham Crackers. Chocolate. Marshmallows. Graham Crackers. Chocolate. Marshmallows. Here's a great set of recipes for campfire s'mores
Campfire cooking

4 Campfire Cooking Tips

Some important and useful cooking tips for your campfire:
  • If you are cooking meat, please make sure that it has been stored correctly beforehand and has been kept cold enough, and when cooking make sure you cook the meat thoroughly to kill any bacteria and pathogens. Here's how to keep your food cold while camping.
  • Avoid cooking any items with lots of fat and avoid frying items on the campfire as oil and grease can lead to a fire getting out of control particularly in very dry conditions.
  • Wait to cook until the logs look like ashy chunks on top of glowing embers. If you cook while the fire is still in the early stages you will just chargrill everything you are cooking and leave it all raw in the middle.
  • Be careful not to overcook the food. Carryover cooking can occur when you are flame cooking, meaning that the food will continue to cook even when it is taken off the fire. So make sure you balance it to ensure that you don’t undercook, but make sure that you don’t leave it until it is incinerated.
Here are some more tips on thekitchn.com for cooking over an open campfire.
How to start a campfire guide

Friday, 6 July 2018

Dutch Ovens: 5 steps to better camp cooking

Dutch Oven
The Dutch Oven will transform your camping experience.  If you are outside with the family, you all will be burning calories, even more so if it’s cool. Living off burnt sausages and burgers for more than a day is not the answer.   With a Dutch Oven you can get a good warm meal with all the nutrients to refuel the family, preventing some of those “tired and irritable” moments.

1. Dutch Oven: What is it?

A Dutch Oven is a large cast-iron pot.  Simple.  But, like most simple things, it is really effective.
It is very easy to cook with, and as you can get heat to the food from above and below, it works as an oven, enabling you to stew, boil, fry, bake and roast.
Watch our video that explains how it works:

2. Seasoning your Dutch Oven

Before starting out with your dutch oven you need to season it.   This is puts a non-stick coating around your oven, protecting the metal from rust, and making it easier to clean up when on camp.
  • If new, clean your dutch oven (the only time you do this with water and detergent), and dry it – you don’t want water getting to the cast iron.
  • Smear a thin layer of unflavoured vegetable fat all over.  Inside, outside, lid, legs, handle – everywhere.
  • Put it on your BBQ.  You need to cook the fat into the iron to give it the non-stick coating.
    You can do this in your oven, but this process smells, so I recommend you do this outside.
  • Repeat at least twice to ensure all the oven was covered.  Do it more if you can as that will give the oven greater protection and it will be easier to clean on site.
You may need to repeat this process (except the first step) at the start of each season.

3. Cooking

Cook with charcoal briquettes.  These give a lot more control over the temperature as they are a uniform size (unlike lump wood), and give a relatively consistent heat (compared to a fire).
You don’t necessarily need many, for example, five below and a few on top may be enough for a stew.   The more you add the hotter the oven.
You will need to get a supply of briquettes to replace those that burn out.  You can place new briquettes next to ones that are still hot, or alternatively, get some started by placing them around the edge of the fire.
To start the initial batch of briquettes off you can use a briquette starter.
We typically use our Dutch Oven with our tripod (click here to see our tripod setup).
Follow this guide to position the briquettes for different types of cooking:
  • Baking: More heat from top so bottom doesn’t burn.
    3/4 coals on top; 1/4 underneath.
  • Roasting: Heat comes from both top and bottom.
    1/2 coals on top; 1/2 coals underneath.
  • Stewing and simmering: Most heat from bottom.
    1/4 coals on top; 3/4 coals underneath.
  • Frying and boiling: All the coals underneath.
To avoid heat spots, which can cause food to burn, rotate the oven about every 10 minutes.   Twist the oven about 1/3 of the way around (lift it, twist it, and place a leg where the previous leg had been).  If you have coals on top, twist the lid in the opposite direction.
I also recommend you get some Hot Gloves, a pastry brush for sweeping ash away from the lid before you open it, and a Lid Lifter or suitable hook to lift the lid off without touching it (and it also keeps the coals balanced on there without them falling off!).   You should also find something to place the lid down on so it remains upright but not get covered in mud or grass.  We use the griddle from our portable BBQ, since that is not in use when we have the oven on it.
Our Dutch Oven plus BBQ set up

4. Cleaning

After serving up the meal, start the cleaning process.  This sounds a lot of work but it really isn’t.
  • Remove all food.  Any burnt on food gently scrape away with a wooden spoon.  Do not use a metal spoon as that will remove the seasoning.
  • With the oven cool, add a few inches of water.
    Never add cold water to a hot oven as it will crack the metal.
    I recommend leaving your oven to cool and warm some water in the kettle (doesn’t need to be boiling).
  • Place the lid back on the oven and warm it up.   Since the oven is seasoned, this process will pull the food way from the oven’s sides.
  • Try and get the above going before you eat (it only takes a moment)… then enjoy your food.
  • Once full (you, not the oven), remove from heat and let cool.  Then discard the dirty water and rinse out with warm water.   The oven should be clean.  If not, repeat.
  • Dry the oven, then place on a low heat, over the fire, or next to the fire, with the lid slightly off.  This will remove any remaining moisture within the pores of the iron.
  • Finally, before packing it away, use a paper towel and smear unflavoured vegetable oil over the oven to give it a bit more protection.  Wipe off any excess.
Never use soap.  Detergent will remove your seasoning.

5. Get one

As with most things, you can get Dutch Ovens and related equipment from Amazon.
You can get Dutch Ovens in a number of different sizes (and you can stack them on top of one another too if you need to cook more things with the same set of coals).

Dutch Oven Camp Recipe Favorites

Try these Dutch Oven favourites.
Cooking should be relaxed and simple.  Chop an onion, thrown in some spuds, add a tin of beans, and have a beer…
Obviously safety around hot things and campfires must be understood by kids, but helping cook in a dutch oven is something they will enjoy.

Cowboy Stew

A favorite of “Stinky Pete” I guess. You don’t have to stick to the recipe exactly for it to work.
Follow our step-by-step guide to this really simple recipe.

Breakfast

When waking up on a cold damp morning, getting the fire going and a warm breakfast is just what’s needed – something you can’t do if you are mainly camping off BBQs.
  • 1lb Sausages (Quorn ones work well as well)
  • Frozen Hash Browns
  • 12 Eggs (yes, a lot)
  • 1/2 lb Cheddar Cheese
  • Salt and Pepper
Grate cheese.
Preheat Dutch Oven with coals underneath.
Cut or tear sausages into little pieces and put in oven.  Stir until sausage is cooked (or just heated through if using precooked sausages).
Add the hash browns.  Stir and fry until hash browns are browned.
Remove from coals.  Mix eggs and pour over the top of the sausage and potato base.  Season with salt and pepper.
Cover Dutch Oven and add coals to the lid to cook the eggs from above.
When eggs are cooked, sprinkle cheese, cover and cook for 5 minutes to melt the cheese.

Pizza Casserole

This is a creative meal.
  • 2 packs of rolls
  • Cheddar Cheese
  • Mozzarella Cheese
  • Jar of pizza sauce
  • Mince
Grate the cheese (or slice mozzarella).
Brown the mince in Dutch Oven then remove.  Let the oven cool.
Line the bottom of the oven with 1 pack of rolls – can use sliced bread if rolls are not available.
Spread pizza sauce over rolls.  Add mince.  Add cheese.  Add the remaining pack of rolls to the top.  Bake (i.e. most of the coals on top) for 30-40 minutes.

Friday, 6 April 2018

Dutch Ovens: 5 steps to better camp cooking

The Dutch Oven will transform your camping experience.  If you are outside with the family, you all will be burning calories, even more so if it’s cool. Living off burnt sausages and burgers for more than a day is not the answer.   With a Dutch Oven you can get a good warm meal with all the nutrients to refuel the family, preventing some of those “tired and irritable” moments.

1. Dutch Oven: What is it?

A Dutch Oven is a large cast-iron pot.  Simple.  But, like most simple things, it is really effective.
It is very easy to cook with, and as you can get heat to the food from above and below, it works as an oven, enabling you to stew, boil, fry, bake and roast.
Watch our video that explains how it works:

2. Seasoning your Dutch Oven

Before starting out with your dutch oven you need to season it.   This is puts a non-stick coating around your oven, protecting the metal from rust, and making it easier to clean up when on camp.
  • If new, clean your dutch oven (the only time you do this with water and detergent), and dry it – you don’t want water getting to the cast iron.
  • Smear a thin layer of unflavoured vegetable fat all over.  Inside, outside, lid, legs, handle – everywhere.
  • Put it on your BBQ.  You need to cook the fat into the iron to give it the non-stick coating.
    You can do this in your oven, but this process smells, so I recommend you do this outside.
  • Repeat at least twice to ensure all the oven was covered.  Do it more if you can as that will give the oven greater protection and it will be easier to clean on site.
You may need to repeat this process (except the first step) at the start of each season.

3. Cooking

Cook with charcoal briquettes.  These give a lot more control over the temperature as they are a uniform size (unlike lump wood), and give a relatively consistent heat (compared to a fire).
You don’t necessarily need many, for example, five below and a few on top may be enough for a stew.   The more you add the hotter the oven.
You will need to get a supply of briquettes to replace those that burn out.  You can place new briquettes next to ones that are still hot, or alternatively, get some started by placing them around the edge of the fire.
To start the initial batch of briquettes off you can use a briquette starter.
We typically use our Dutch Oven with our tripod (click here to see our tripod setup).
Follow this guide to position the briquettes for different types of cooking:
  • Baking: More heat from top so bottom doesn’t burn.
    3/4 coals on top; 1/4 underneath.
  • Roasting: Heat comes from both top and bottom.
    1/2 coals on top; 1/2 coals underneath.
  • Stewing and simmering: Most heat from bottom.
    1/4 coals on top; 3/4 coals underneath.
  • Frying and boiling: All the coals underneath.
To avoid heat spots, which can cause food to burn, rotate the oven about every 10 minutes.   Twist the oven about 1/3 of the way around (lift it, twist it, and place a leg where the previous leg had been).  If you have coals on top, twist the lid in the opposite direction.
I also recommend you get some Hot Gloves, a pastry brush for sweeping ash away from the lid before you open it, and a Lid Lifter or suitable hook to lift the lid off without touching it (and it also keeps the coals balanced on there without them falling off!).   You should also find something to place the lid down on so it remains upright but not get covered in mud or grass.  We use the griddle from our portable BBQ, since that is not in use when we have the oven on it.
Our Dutch Oven plus BBQ set up

4. Cleaning

After serving up the meal, start the cleaning process.  This sounds a lot of work but it really isn’t.
  • Remove all food.  Any burnt on food gently scrape away with a wooden spoon.  Do not use a metal spoon as that will remove the seasoning.
  • With the oven cool, add a few inches of water.
    Never add cold water to a hot oven as it will crack the metal.
    I recommend leaving your oven to cool and warm some water in the kettle (doesn’t need to be boiling).
  • Place the lid back on the oven and warm it up.   Since the oven is seasoned, this process will pull the food way from the oven’s sides.
  • Try and get the above going before you eat (it only takes a moment)… then enjoy your food.
  • Once full (you, not the oven), remove from heat and let cool.  Then discard the dirty water and rinse out with warm water.   The oven should be clean.  If not, repeat.
  • Dry the oven, then place on a low heat, over the fire, or next to the fire, with the lid slightly off.  This will remove any remaining moisture within the pores of the iron.
  • Finally, before packing it away, use a paper towel and smear unflavoured vegetable oil over the oven to give it a bit more protection.  Wipe off any excess.
Never use soap.  Detergent will remove your seasoning.

5. Get one

As with most things, you can get Dutch Ovens and related equipment from Amazon.
You can get Dutch Ovens in a number of different sizes (and you can stack them on top of one another too if you need to cook more things with the same set of coals).

Dutch Oven Camp Recipe Favorites

Try these Dutch Oven favourites.
Cooking should be relaxed and simple.  Chop an onion, thrown in some spuds, add a tin of beans, and have a beer…
Obviously safety around hot things and campfires must be understood by kids, but helping cook in a dutch oven is something they will enjoy.

Cowboy Stew

A favorite of “Stinky Pete” I guess. You don’t have to stick to the recipe exactly for it to work.
Follow our step-by-step guide to this really simple recipe.

Breakfast

When waking up on a cold damp morning, getting the fire going and a warm breakfast is just what’s needed – something you can’t do if you are mainly camping off BBQs.
  • 1lb Sausages (Quorn ones work well as well)
  • Frozen Hash Browns
  • 12 Eggs (yes, a lot)
  • 1/2 lb Cheddar Cheese
  • Salt and Pepper
Grate cheese.
Preheat Dutch Oven with coals underneath.
Cut or tear sausages into little pieces and put in oven.  Stir until sausage is cooked (or just heated through if using precooked sausages).
Add the hash browns.  Stir and fry until hash browns are browned.
Remove from coals.  Mix eggs and pour over the top of the sausage and potato base.  Season with salt and pepper.
Cover Dutch Oven and add coals to the lid to cook the eggs from above.
When eggs are cooked, sprinkle cheese, cover and cook for 5 minutes to melt the cheese.

Pizza Casserole

This is a creative meal.
  • 2 packs of rolls
  • Cheddar Cheese
  • Mozzarella Cheese
  • Jar of pizza sauce
  • Mince
Grate the cheese (or slice mozzarella).
Brown the mince in Dutch Oven then remove.  Let the oven cool.
Line the bottom of the oven with 1 pack of rolls – can use sliced bread if rolls are not available.
Spread pizza sauce over rolls.  Add mince.  Add cheese.  Add the remaining pack of rolls to the top.  Bake (i.e. most of the coals on top) for 30-40 minutes.

Wild Camping Tips and Kit List

The first rule of Wild Camping club is...  actually really simple! Leave No Trace: if you take it in, you carry it out. What is wild camp...