1. Crumpled Paper Products: Newspaper, paper towels, toilet paper, and scrap paper are go-to items for starting wood stoves and fireplaces. A dry bit of paper can be a lifesaver in campfire building as well. Bonus survival use: Crumpled balls of paper make good insulation if stuffed into your clothing.
2. Cotton Gauze: Raiding the first aid kit for tinder is a sure sign that you’re in an ugly situation. Paper-wrapped cotton gauze is there as a wound dressing, but it’s also very flammable.
3. Tampons: Cotton fiber feminine products serve both hygiene and medical purposes, and when ripped apart they make a great tinder.
4. Plant-Based Cloth: Any dry cotton, linen, or other plant-fiber clothing or cloth can be burned in a pinch. You won’t want to waste cloth if you are in the outdoors and your supply is limited, though. Tear off strips to burn, rather than using the whole item at once.
5. Dryer Lint: This dusty fluff is explosively flammable when it consists entirely of cotton fibers. Just keep it dry and it will light with sparks or an open flame.
6. Wood Shavings: While saw dust is flammable, a small pile of wood shavings will have a looser structure and a better surface-to-air ratio for combustion. If you are a woodworker, save some shavings to build your next fire.
7. Greasy Chips and Snacks: Fritos are not only a delicious snack with lots of calories, but they are a surprisingly good fire starter, as well. Just apply an open flame to the edge of any fatty chip and watch it burn like a torch. Most any chips you have in the cupboard will work.
8. Cardboard: This one is simple enough, but it can also be improved. Soak a little melted wax or grease into the cardboard for a better burn time. The wax will also provide some waterproofing.
9. Plastic Fiber Cloth and Rope: Unless the item has been treated with some flame retardant, plastic ropes and cloth will burn when exposed to an open flame.
10. Cotton Balls: Either dry cotton balls or ones soaked in petroleum jelly will make a great fire starter. The dry ones will burn for 20 seconds or so. Greased-up cotton balls will burn up to 5 minutes.
Kids prepping skillsPrepping skills to teach your kids
Survival skills your child should knowKids are in a habitual state of learning, just by being kids. By nature, skill building is in their bones and so it's easy to teach your kids prepping skills so that in the event of an emergency they are not victims, but active participants in their own survival.
Don't coax your kids into the world of prepping, but simply to give them some background and provide essential prepping skills for their survival. As the children grow, you can build on the skills taught so they have a fighting chance in the event you are not able to lead them through the emergency. Skill building will give them a sense of independence and self- reliance. Below are dozens of prepping skills and activities to teach children... Prepping skills to teach your kids Prepping Skill #1: Teach kids water survival skills.Water is life, which is why ultimately it's important to teach kids how to locate water, how to open a bottle of water, and how to filter water.
Water is compulsory to survival and yet an overlooked detail. The seal of water bottles is often too tight for young children to open by themselves; however, with the aid of a grip as leverage your child can break the seal. Be sure to provide the whereabouts of your water filtration gear and offer a simple demonstration to your child on water filtration.
Expressly, show your child how to add more water to the Big Berkey water filter, how to use a Lifestraw or water purification tablets, and how to tap the water reserves. Most importantly, provide clear instruction to kids of water which is unsafe to drink, such as flood water or pool water which has not been filtered. Not sure yourself about the water?
While you're at it: teach the kids how to swim in water! Prepping Skill #2: Teach kids to use a manual can opener.For some kids it's a physical challenge to open a can, but it is comforting knowing your child can do it. Explain how anything inside the can is safe to eat without cooking (even though it might not taste as good). Kids need to know also about can safety. For example, they must not to eat from cans that are bulging, dented, or corroded (because of botulism risks) or cans that otherwise compromised, such as cans in floodwaters or cans which may have rat droppings or urine on them. Prepping Skill #3: Teach kids to light a match.Parents often hide the matches from their kids, Provide supervised instruction on lighting a match into a bucket of water. Be sure to discuss the safety and importance of tying hair and loose clothing. Most kids know the stop, drop and roll method of extinguishing flames to clothing: quiz your child and have him or her demonstrate knowledge!
Firebuilding is one of the most fundamental skills to teach your kids, and it starts with lighting a match. Prepping Skill #4 to teach kids: build a basic fire.There are many prepping skills to teach your kids, but one of the most fundamental skills you can teach a kid is to start a fire (and to put one out). Kids will want to dump water on the fire, but they should sprinkle it out.
Schools often do a good job of holding fire drills to teach kids about fire safety, but they don't teach kids how to build a fire. That's the job of a prepper! As your child's guardian and as a prepper, you must instill a healthy respect of fire. This understanding will teach your child more about fire safety than his peers may know.Here's how to build a healthy respect for fire...
It doesn't matter the firebuilding method you choose as long as you provide a lesson on firebuilding. Discuss the importance of a fire ring for containment and the proper tools such as having a bucket of water on hand. Physically show your child tinder (fluffy stuff they can touch with their fingertips), Kindling (bits of twigs they can bunch in one hand), and Fuel (logs they can carry under the arm). Prepping Skill #5 to teach kids: how to stay warm.You may not be ready to teach your child how to operate the cook stove, but does your child know how to run the generator? Older and highly responsible children may graduate to lessons on how to safely slit wood with an axe to help fuel the fire. Prepping Skill #6: to teach kids: how to handle a knife.Teach kids how to use a knife safely to cut food (so they don't cut off their fingers). Give your child a scouting pocket knife and teach him or her how to whittle. Prepping Skill #7: Teach kids: bartering.Have your child make do with available resources and learn the art of bartering. Bartering is not only a prepper skill, but a
Watch the video "One Red PaperClip" which provides all the inspiration you need. When you watch the video you will understand how one young man took one red paperclip and traded up until he was able to get himself a house. It's an amazing story and worth sharing with everyone you meet. Many famous people have said it, including Tennis Player Arthur Ashe.
Prepping Skill #8: Teach kids to ride a horse or bike.Your budding little equestrian may have learned a thing or two at horse camp which would help an end of times EMP scenario. Perhaps your child may someday need to ride to the closest town get medical help.
Any kid should learn how to ride a bike, as it just may be the bugout vehicle! Prepping Skill #9: to teach kids: Basic navigation.Provide your child with basic navigational information about key landmarks in your area along with a general idea of North, South, East and West. If your child attends a public school, officials will likely not release your child to walk home alone following a disaster; however it's a good idea to have a contingency plan. Does your child know the route home to safety? Take a family hike and walk or bike home from school. After completion, graduate to a night walk! In the event of a catastrophe, does your child know the route and alternate routes to a family meeting place in the event your home no longer exists? Prepping Skill #10 to teach kids: Self defense.Martial arts is very suited for children, and it helps build self- confidence as well if you are not ready to teach the kids about firearms. Prepping Skill #11 to teach kids: Security.Firearms training for kids might not be right for every family, but you can certainly teach your child to target as with archery, sling shots or a home made bow and arrow. Other options might be paint ball or BB-guns. These skills will also be useful for hunting. Prepping Skill 12 to teach kids: Hunting, fishing, archery.Teach kids how to use fishing poles and equipment, plus sling shots, BB guns, archery for small game hunting. Prepping Skill #13 to teach kids: Simple first aid.Scouting handbooks provide basics for young children. Red Cross also offers many classes. As well, you can teach the basics of cleaning a wound and apply the proper dressings and bandages. You can also practice making an arm sling from a large sheet (tying and arm sling is more difficult than it appears.) Prepping Skill #14 to teach kids: Going incognito!Keeping quiet is an important prepper skill. Teach your children all the safe spots to hide on your homestead. American Sign Language is fun to learn and may prove extremely useful if gangs threaten the homestead as a family could instruct one another silently to plan an attack or escape. Prepping Skill #15 to teach kids: Communications.Give the kids a two-wave radio and show them how to operate and load the batteries. Teach your children some family safe words or learn American Sign Language as a family to be able to communicate silently. Prepping Skill #16 to teach kids: Crafting with Paracord.You'll find a variety of paracord kits available to help kids get into crafting with paracord, such things as survival bracelets, belts, and lanyards. Boys and girls will appreciate the skill and you'll feel good knowing they have a good way of spending their time. Learn more about paracord as a hobby. Prepping Skill #17 to teach kids: How to use a bandanna.Every scout has a bandanna or two and with good reason.
We've compiled a list of 32+ uses for a bandanna, you'll have fun teaching the kids about bandannas.
Prepping Skill #18 to teach kids: Saving money.Make a mason jar coin banks and teach the value of a penny saved is a penny earned. Kids will enjoy it if you glue a small plastic figure on the inside of the jar. As coins fill the jar, the figure disappears. The slitted mason jar cap, pictured immediate right, gives you a head start. Prepping Skill #19 to teach kids: Forage for food.Take a walk in the neighborhood with the kids to find food in the wild or planted by man. Perhaps you'll spy onions, pomegranates, apricots, oranges within reach in neighboring gardens. Knowing how to recognize food is a skill. You may like to teach the kids that good times we pick with permission, in starvation times we do what we can to survive. Prepping Skill #20 to teach kids: Sewing, knitting and crocheting.All are valuable skills to fix things and make new ones. Extremely gifted children enjoy these skills in particular as it is enriching beyond textbook studies. Prepping Skill #21 to teach kids: Camping.Take the kids camping, or set up a backyard camping adventure. Teach kids how to pitch a tent, wash the dishes, tend to the fire, and cook outdoors. Prepping Skill #22 to teach kids: Gardening.Kids love getting dirty and what better way than to teach gardening. Small farm gardening, windowsill or greenhouse gardening, or Aquaponic Gardening.
Radishes are extremely easy to grow and they can appear as quickly as 18-21 days. Try growing radishes with kids.
Sprouts also have a short window for growth, which make them an excellent project with kids.
Prepping Skill #23: Solar Cooking.Teach kids the science of cooking with the sun using the solar cooker science kit right. Have fun cooking a hot dog from cardboard after constructing the simple and fun to use kit for kids. Adults will have just as much fun. Try solar cooking with the scouts or as part of a homeschooling projects! Prepping Skill #24: Construction.Does your child know how to safely hit a nail with a hammer? Teach your children how to safely use all the equipment in your garage. Prepping Skill #25: Safety awareness.
Alarms: Make sure your child knows the difference between a smoke alarm and the burglary alarm.
Drills: Your kids may hold regular fire drills, earthquake drills, tornado drills or hurricane drills at school, but do they know the routine at home? In case you have a sitter or guests in the home, they can help show the way to safety. Regular drills are part of everyday preparedness. As a prepper, your child should also know to grab sturdy shoes along with his or her bugout bag.
Situational awareness. Teach kids to look around and ask them what they see on outings. Is that a safe and friendly dog? Look at the tail. If it's wagging, you can get a good feeling that the dog is friendly. Is the dog stiff with ears up? Teeth flaring? Talk about situations with your kids, including the kinds of animals and people to trust and not trust.
You are your child's best teacher! To begin prepping with your kids, tell them why you prep. Ensuring your child would have enough to eat may have been the original inspiration for you when you started your prepping quest, but as the economy or other global crisis ensues, your prepping plans may have changed. Whatever your personal motivation, it's important to start by sharing. Show them you care because you prepare!
Happy endings... Get started prepping with kids today. Whether you home school your children or grandchildren, or whether you have a younger sibling, cousin, niece or nephew who would benefit from learning prepping skills from you, now is the time to start. If you are a scout leader, then you can ensure the kids in your troop have survival skills and can help them teach their families survive. Prepping with kids is fun and rewarding. Source: http://www.happypreppers.com/kids-prepping-skills.html
Thursday, 19 July 2018
How to Use a Compass Without a Map (and Still Get Home for Dinner)
Bryan HainesFeb 22, 2018
So while getting lost probably isn't in your trip plans, things can happen. In this post, you'll learn how to use a compass without a map. Your GPS might konk out – or maybe you're a purist and want to explore without electronics. Whatever your situation, this post will help.
How to Use a Compass (Without a Map)
The African desert ant can walk in meandering directions for 200,000 lengths of its own body, pick up a piece of food, and navigate its way back to its nest with no trouble whatsoever.
What makes this ant so good at navigation? And how can we get that good?The African desert ant has a built-in sun compass in its eye, and an odometer to measure distance. Although we don’t have these things built-in, we have an equivalent tool available to us, and the ability to count!
If you are out in the wilderness without a GPS device, a compass is a vital piece of survival gear. You may also want to have a little walk in the wilderness and ensure that you get back to your car to get home for dinner, but you don’t have a map, only a compass. We'll talk about both circumstances: unplanned and planned, and how you can use your trusty compass effectively.
Report this ad
Compass navigation is an incredibly important skill that (with our reliance on modern day technology) less and less of us are able to do. People still find themselves getting lost, and once you are lost it can be difficult to navigate your way out without a map and a knowledge of how to use a compass.
We'll talk about compass skills soon, but first let's talk a bit about why we get lost.
Why We Get Lost
There are lots of reasons why we get lost. The basic reason is that we have lost many of our way-finding skills, the ancient ways we used to navigate the landscape. Indigenous cultures knew that wayfinding was often a matter of life and death, and used the stars and sun to navigate, which is as, if not more effective than a compass.
The human brain does possess mental-mapping abilities, located in the hippocampus, and this has been found to be a “use-it-or-lose-it” skill.
For example, London cab drivers were found to have larger and more developed hippocampi than other people due to their need to navigate the complex streets of England’s capital (without maps – as was a requirement of the job). But even with these abilities, we will never hold the same level of skills as other animals such as the African desert ant.
Why do we walk in circles? I’m sure you have heard the stories of people in the woods, walking for hours, and ending up back where they started?Well, this is a surprisingly common phenomenon! It happens because we tend to favor a side, usually the side of our dominant hand, and we will walk with a slight favour in that direction. Over time this means that we can complete huge circles without even realising it unless we can correctly orient ourselves.
This is where a compass comes in!
Report this ad
Now let's get down to the nuts and bolts of how to use a compass without a map. First we'll look at magnetic declination.
Magnetic Declination
Before you start working with a compass, it's important to know the magnetic declination for the area.
This is the difference between magnetic north on your compass, and true north.
Depending on where you are in the world, this could be negative (ie. your compass shows north as west of true north) or positive (ie. your compass shows north as east of true north).
For example, in Sydney, Australia, the magnetic declination at time of writing is +12˚, meaning the compass shows north as 12˚ east of true north. Everglades City in Florida, however, is -5˚, meaning the compass shows north as 5˚ west of true north.This guide will help you find the magnetic declination for your location.
Report this ad
Does magnetic declination change over time? Yes, it will change over time, albeit slowly. It could be as little as 2-2.5 degrees over 100 years, depending on the distance of the location from the magnetic pole. For a location close to the pole, the declination could change by as much as 1 degree over just three years.
It's important to know the current declination of your location.
Even though this is a more valuable piece of information when using a map, it is important to know when you are, for example, trying to find your way back to a road or landmark that runs the length of an area you are in, and you know in which direction to head to travel to it. In this circumstance, declination will be useful to orient yourself back.
There are a number of different types of compass on the market but the two main types you will come across are the Baseplate Compass and the Lensatic Compass.
Baseplate compass: These compasses often have a clear base plate which makes them ideal for use with a map. The quality of their navigation will vary depending on how expensive they are, but you should be fine with even a basic one to navigate. Most base plates provide 2˚ increments on their dials.
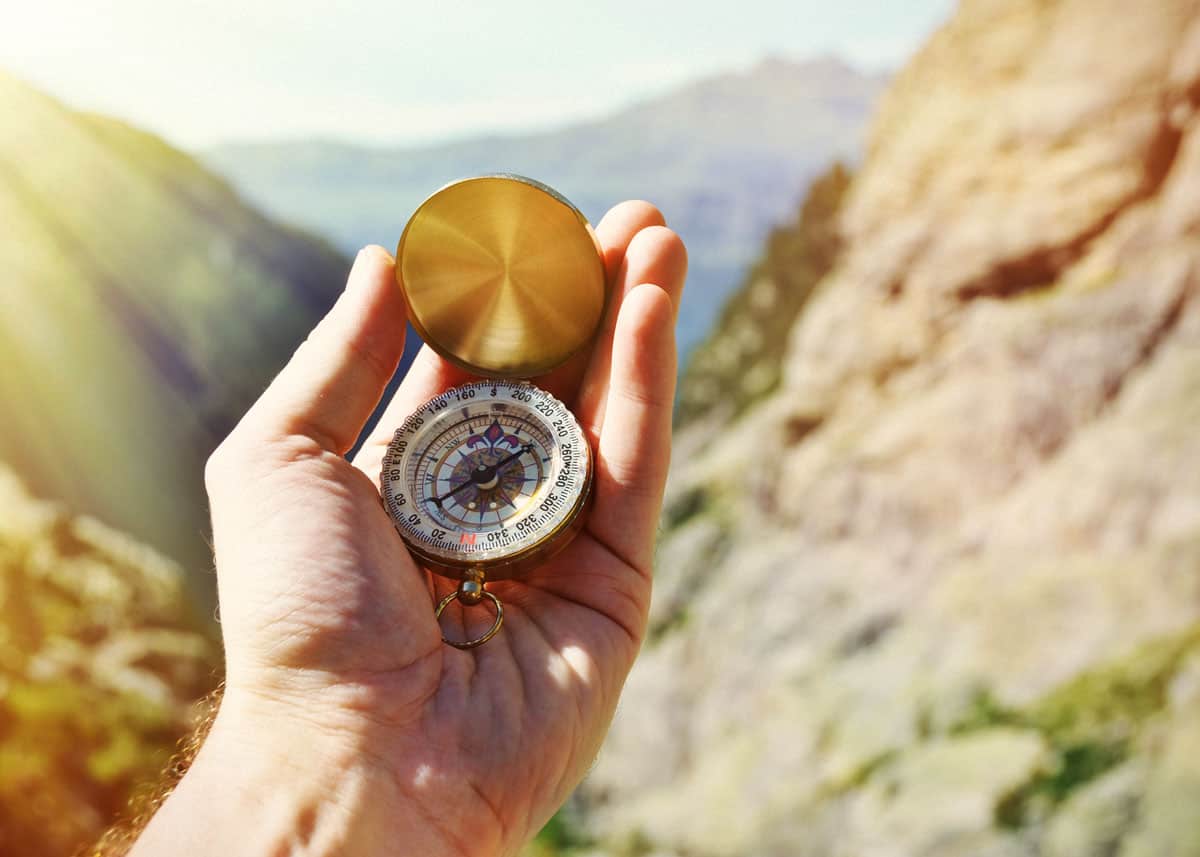
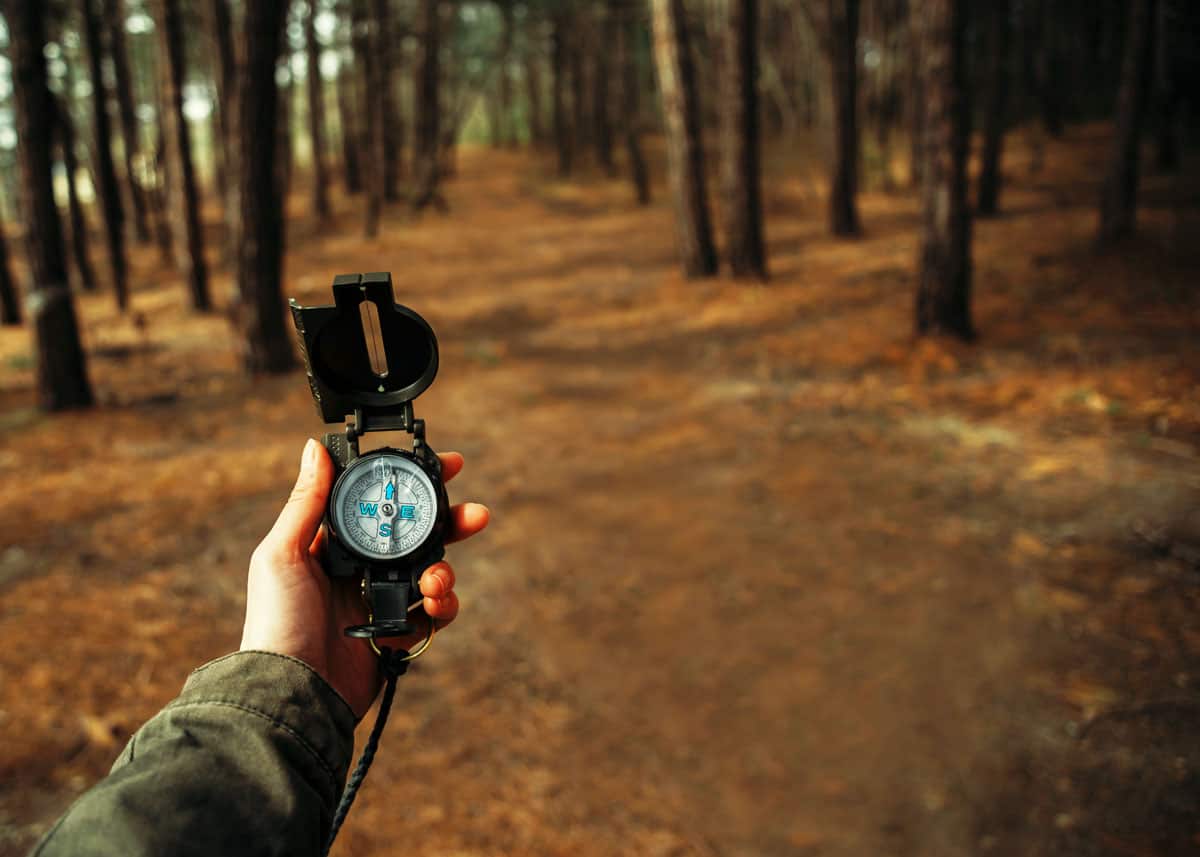
Lensatic compass: These compasses do not have a clear baseplate and have articulating pieces including a cover that protects the floating dial. Most lensatic compasses have 120 clicks, and each click represents 3˚. Instead of looking down directly at the floating dial, you use the sighting lens on the compass to read the dial.
Navigating a Walk With Only a Compass
This is often known as “mapless dead reckoning” and is what Christopher Columbus did when he set out on an exploration.
The basic idea is that you keep track of the direction that you have gone in, and how long or how far you have gone, and then when you wish to return, you plot your journey back by piecing together your journey and determine the direction and the distance to return to where you started.
You can choose to use timing or pacing, or both, when setting out. I personally prefer pacing rather than time especially if you are in uneven terrain, for the simple reason that you are going to go at different paces depending on the terrain and so the timing may vary considerably. However, if it is even terrain timing can be easier and requires less concentration on your part (for example if you’re with a group and chatting as you go).
How Pacing Works
For example, if you go 312˚ for 1200 paces (or in meters if you work out how long your paces are), then 215˚ for 600 paces, and you want to work out what direction you take to get back to your start point, you can easily map this out on the ground in front of you to work out the distance and direction. If you use your foot length to represent 100 paces, place some twigs out in the direction of 312˚ for 12 foot lengths.
Once you have done this, then measure out twigs for six foot lengths at 115˚. Then, using your compass, determine the direction you must head to get back to the starting point, and measure out the distance in paces using your foot lengths. Once you have clarified direction and distance, it is worth using a slightly different direction and then walking back to your starting point so that at least you know the direction your starting point should be in case our calculations are slightly out.
For example, if I have left my car on a dirt track as a starting point, and determine that I must walk at 28˚ 850 paces to return to my car, I might choose to walk at 18˚ for 850 paces and then when I reach the road I know that I have to turn right to navigate back to my car. If I were to walk at 28˚ and then came out on the road and could not see my car, I would have no idea which way to head to find it. Purposefully navigating your return slightly incorrectly can mitigate this risk.
If you are wanting to try this and learn to orient yourself in this way, I would suggest you start with easy terrain and having back up technology. Do this a few times and only once you feel confident with the technique should you try something a bit more challenging. Once you have mastered this skill, you will find it incredibly rewarding, and surprisingly useful in many different circumstances! You can be sure that your friends will also be very impressed.
So, if you’re not purposefully going out without navigation, and you may not know exactly or even roughly where you are, it is a whole different kettle of fish. You may have been walking and suddenly the track you thought you were following has come to a complete stop, or you may have been driving off road and your tire blew and your phone battery is dying.
The first thing you need to do, is determine where you are going to walk to. If you have any juice in your GPS, it may not show you much but if there is a road or a river/stream then this is a start. If you don’t have anything like that, try to recall any map or image of the area you may have in your head, and determine any roads and/or rivers and where they may be located.
3 Rules to Compasses: Finding North
Next you should refer to your compass. Hopefully, you know how your compass works and what it means. If not, there are a few regular rules to compasses.
If there is one needle, this is pointing towards magnetic north.
If there is a double ended needle, and one end is red, the red end is magnetic north.
If neither are red, try to work out which is pointing to magnetic north by orienting yourself using the sun. The sun rises in the east and sets in the west, so you should be able to work out where north is unless it is the middle of the day. If it is morning, the sun should be on your right if you are facing north, and if it is the evening, it should be to your left.
Be careful of magnetized metal: Just a small note that compasses will orient themselves to magnetized metal that is close by, so do ensure that when you are orienting yourself you are not sitting on or near metal that may affect the compass.
If you know from memory that there is a main road that runs along the south west edge of the area you are in, then you can walk in that direction. Now is a good time to take into consideration the magnetic declination in your local area. If you don’t know, it hopefully shouldn’t matter too much, as we are not heading to a specific location, but it is worth being aware of.
In somewhere like Florida, with only a -4˚ deviation, it shouldn’t matter.
In Sydney, Australia, it is also unlikely to make a difference but with a +12˚ deviation it is probably worth taking this into consideration.
So, if you are wanting to head in a south westerly direction, you should stand so that the needle is pointing north over your right shoulder. If you’re in Sydney, the needle should be pointing a little closer to your neck than the tip of your shoulder to account for the declination.
Start to walk in this direction and continue to check your compass at regular intervals to ensure you are not deviating from your path. Keep walking, keep the faith, keep your hope up. Before you know it, you should reach your landmark, be it road or river, and you can then follow this to civilisation.
Clearly, the ability to use a compass can be immensely handy, and even in today’s world with all the modern gadgets and gizmos, can still mean the difference between life and death. We are regularly reminded of the risks still present in the wilderness when we see news stories of people disappearing or dying, only hundreds of meters from a track or road.
If you are the outdoor type, I would strongly urge you to become familiar and comfortable with the use of a compass and take one with you whenever you head out. Even with all your modern day technology, you can still run out of battery.