Shelter is your #1 survival priority, so knowing how to make a survival shelter is something that everyone should know. Ideally, you would keep a tent or a tarp in your Bug Out Bag in case you ever needed to flee into the wilderness and make your own shelter.
Making a tarp shelter is actually pretty easy once you’ve practiced it a few times (knot-tying skillscome in handy here!). Here are some survival shelter designs you can make in under 20 minutes with a tarp.
But what if you don’t have a tarp or any other supplies with you?
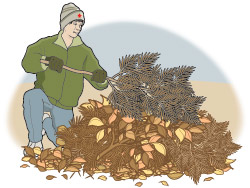
I’ve read wilderness survival stories where people lost in the woods buried themselves in dirt or covered themselves in leaves to stay warm during the night. That’s a great tactic – until it starts to rain or snow!
Here is how you can make a wilderness survival shelter without any supplies (aka brush shelter) in the wild.
Don’t forget to practice it so you’ll be prepared should you ever need this survival skill!
Step 1: Choose Your Site
Choose a spot for your wilderness shelter which is:
- Dry
- Flat
- Not right next to a body of water.
- Not underneath any cliffs, falling rocks, or dead limbs which could fall on you
- Is readily visible or very well hidden (depending on whether you want to be found or not)
- Have a good place for a fire right in front of the doorway
A note about choosing a flat site for your shelter. This is not just for comfort!
If your shelter is on a slope and it starts raining, then the rainwater can come into your shelter.
If you are unable to find a flat spot for building your shelter and rain is likely, then you will need to dig trenches to divert the water away from the shelter.
Step 2: Assess Your Needs
A lot of wilderness survival experts will tell you that this or that method is the best survival shelter. However, it really depends on your needs.
Here are some of the things you need to consider:
- How many people are in your group?
- Does your shelter need to be camouflaged?
- How cold is it? Will you need to build a fire inside or directly in front of your shelter?
- How much time do you have to build the shelter?
- Is the shelter for long-term or short-term use?
Step 3: Decide On a Type of Shelter
This is actually the most important part of building a shelter in the wilderness. If you know a few shelter designs AND know what they are best suited for, then you will be able to make the right shelter.
Here I’m going to go over how to build the most common types of wilderness survival shelters and WHEN TO CHOOSE THEM.
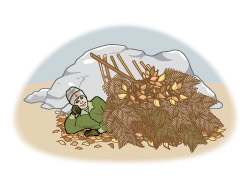
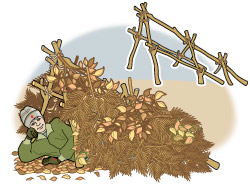
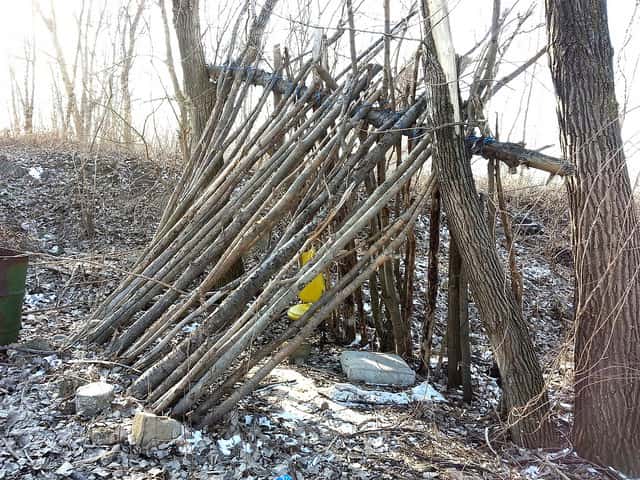
Option 1: The A-Frame Brush Shelter
This is a great short-term survival shelter for a single person because it is so fast and easy to build. It is also easy to find materials for building it.
Properties:
- One person
- Fast to build
- Very easy to build
- Camouflaged
- Temporary/short-term
- Fire won’t warm inside the shelter
How to Build the Shelter:
- Find one long, sturdy branch. It should be a few feet longer than your height.
- Prop one end of branch up on a tree stump or log. Alternatively, you can prop it up on two shorter branches, making an A shape.
- Lean shorter branches against the branch. Now you have a frame.
- Now cover the frame with leaves, branches, or other brush.
*You can also make this survival shelter against fallen trees. Or, for a larger A frame shelter, prop up both ends of your long branch. With this method though, wind can blow in from the sides and it also won’t trap your body heat as well.

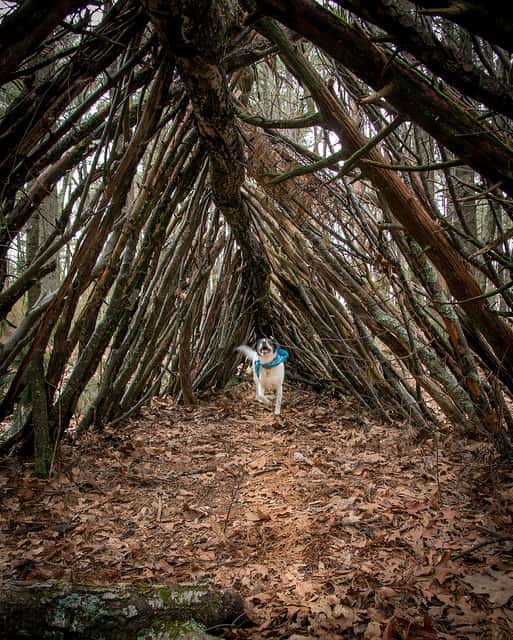

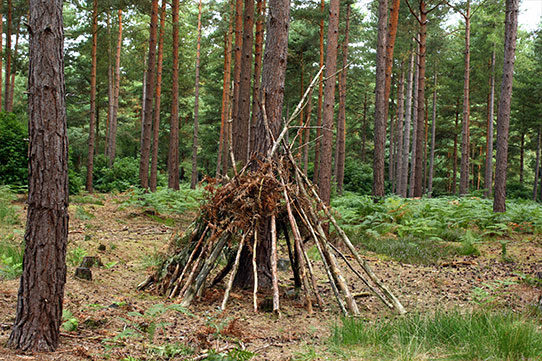
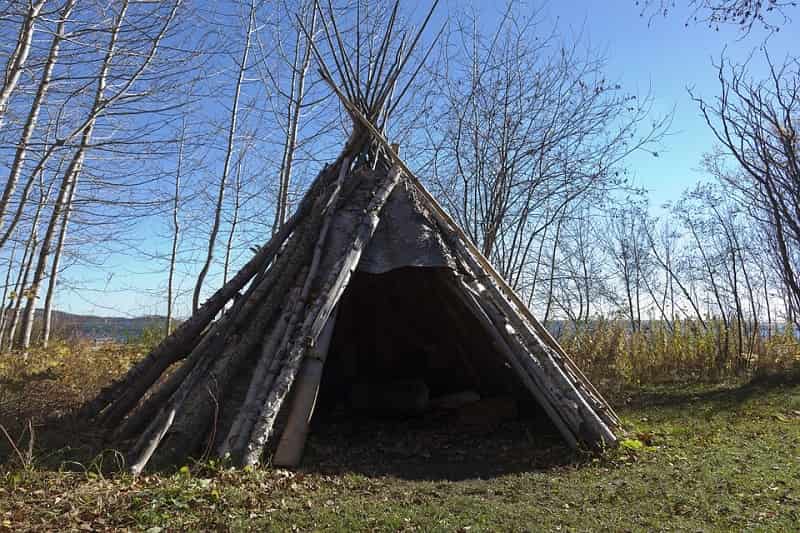
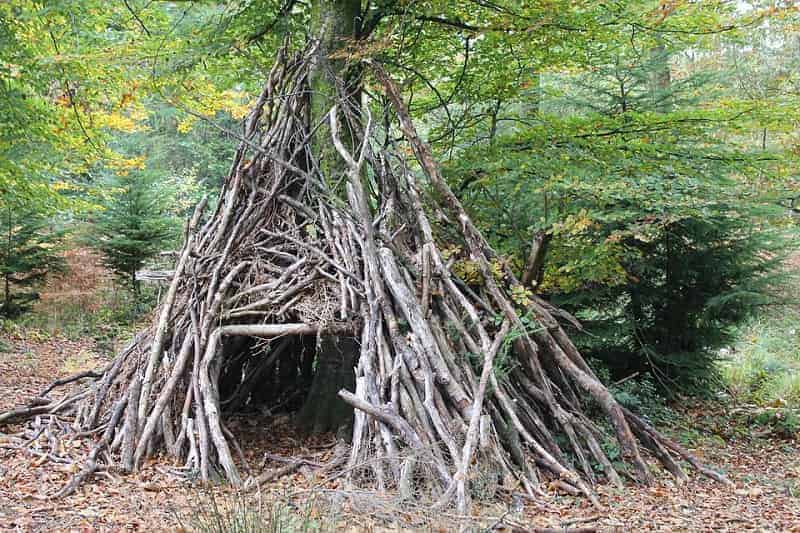
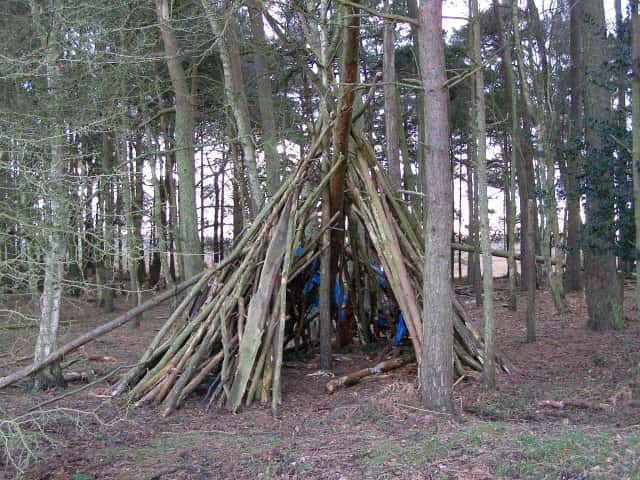
Option 2: The Tipi Shelter (Teepee)
You are probably familiar with this shelter design and maybe you even made a few (I know I made them as a kid). These are relatively easy to build but you’ll need to have a lot of long branches around.
Another downside of the tipi shelter is that its high, vertical shape makes it relatively unstable during high winds. Because it is large in size, it won’t trap your body heat as well as a smaller brush shelter would.
Properties:
- Easy to build
- Good for larger groups of people
- Requires lots of long branches
- Not suitable for high winds
- Doesn’t trap body heat as well as some shelter designs
- Fire won’t warm inside the shelter
- Will need to use leafy branches for covering as leafs and brush tend to blow away
How to Build the Shelter:
- Find three long branches that are relatively the same length. Prop these up to make a tripod frame. This can be relatively difficult to do without rope. Alternatively, you can prop the branches against a tree to make a modified tipi shelter.
- Add more long branches to the tripod you built. The more branches you build, the sturdier the frame will be. Remember to leave a gap for the doorway to the shelter.
- Keep adding branches, including shorter ones. There should be as few cracks as possible in the frame.
- Cover the frame with leafy branches. Brush doesn’t work very well for covering because it easily blows away. Birch bark also works great for a covering – just don’t peel all the bark away unless you are in a true survival situation as it will kill the tree!
- If you do use brush for covering the tipi shelter, you’ll need to add more branches to the outside to prevent them from blowing away.
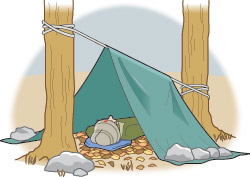
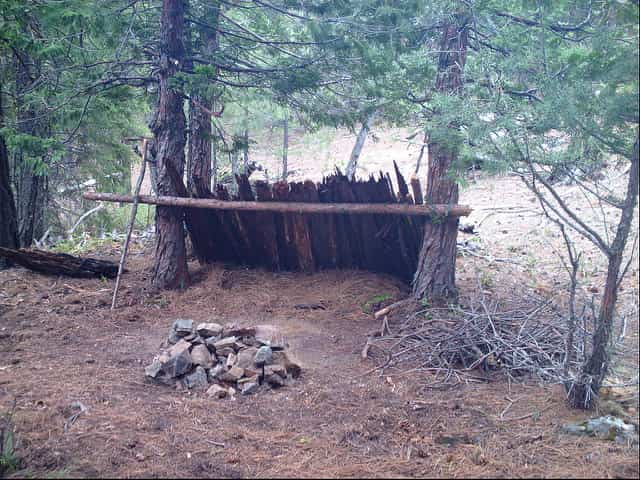
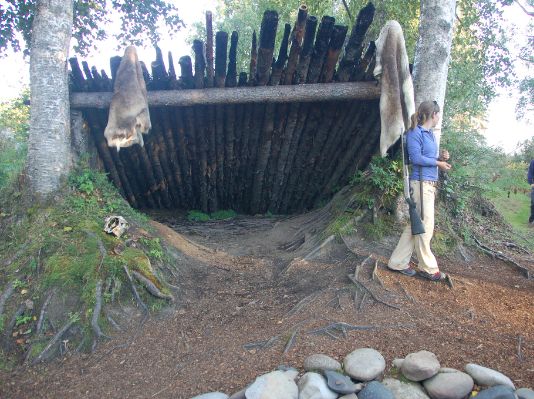
Option 3: Lean-To Shelter
The lean-to shelter is easy to make and roomy. It doesn’t trap body heat as well as a completely enclosed shelter. However, the wall of the shelter also acts as a fire reflector. If you make a fire in front of the shelter, the heat will bounce off the wall and keep you warm. To make it even better for cold weather, make a fire reflector/wind screen on the other side of your fire pit.
Properties:
- Not very warm by itself; will need to make a fire and preferably also a wind screen/fire reflector
- Wind can get in from the sides
- Not very camouflaged
- Easy and fast to make
- With addition of a “bed” and wind screen, it can be suitable as a long-term shelter
How to Build the Shelter:
- Find two trees at least 6-8 feet apart (depending on how tall you are)
- Find a long, sturdy branch slightly longer than this.
- Using cordage (read how to make cordage from plants here) or flexible tree branches, tie the branch between the two trees.
- Alternatively, you can prop the branch on two tree stumps, between two forked branches that you’ve stuck in the ground, or even on mounds of dirt.
- Take note of which direction the wind is blowing. Now lay branches across your main branch so they will block the wind. You now have a lean-to frame.
- Cover the lean-to frame with sticks, brush, and debris for insulation and protection from the rain.
- If it is windy or rainy, block the sides of the lean-to shelter for additional protection.
Option 4: Shelter with a Smoke Hole
There are a bunch of ways to make shelters with smoke holes. You could make a tipi style shelter and leave a hole in the top. Or you could dig an earthen pit house shelter with a hole for a fire inside.
Unless it is truly freezing cold, never make a fire inside your survival shelter! The risk of burning your shelter — and yourself — is too great. If you do need to make a fire, then it will need to be VERY SMALL and controlled.
Properties:
- Many possible designs
- Takes a lot longer to build because the smoke hole decreases stability
- Higher learning curve
- Good for winter survival situations
Since there are so many ways do make smoke hole shelters, I won't give you instructions here. I'll save that for a later, more detailed post.

Note that there are plenty of other ways to make a wilderness survival shelter without supplies.
Go out and try some!
That is the only way you will be able to get a feel for which survival shelter is right for your unique situation. Have fun!
Source: https://www.primalsurvivor.net/wilderness-survival-shelter-no-supplies/