Prioritize in a survival situation by getting out of the elements
Prioritize in a survival situation by getting out of the elements
1. Round Lodge

The Round Lodge
Tim MacWelch
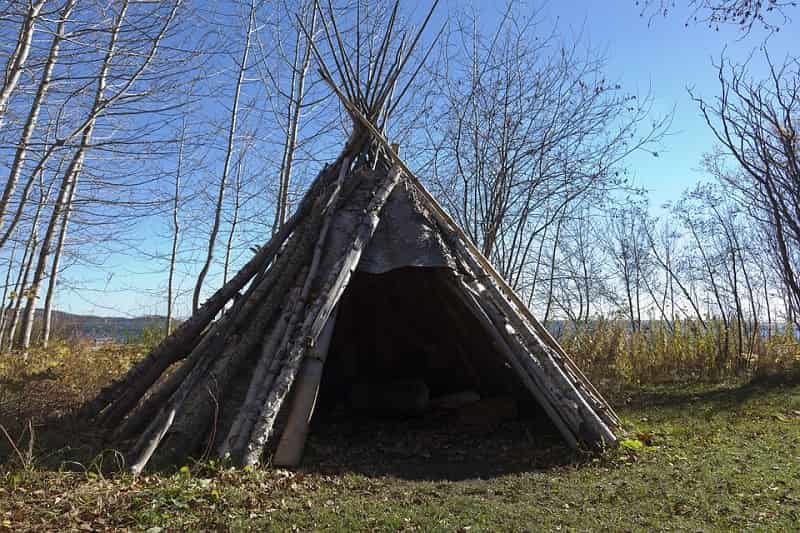
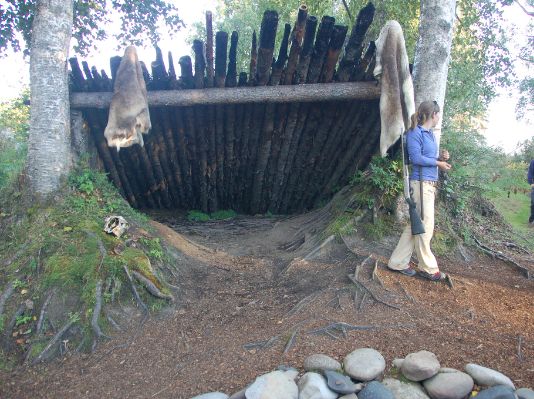
The round lodge is a hybrid from many cultures. Part tipi, part wicki-up, and influenced by many architectural styles, a round lodge can block wind, rain, cold, and sun. It is structured like a tipi, with the addition of a solid doorway. These typically have a smoke hole through the roof, and can accommodate a tiny fire for heat and light. This shelter can be thatched with grass or mats; or it can be buried with a thick coat of leaf litter. Lodge styles like this abounded in the historic and prehistoric American west. This architecture worked equally well in wetter climates, and was used in pre-Roman Britain.
2. Ramada

The Ramada
Tim MacWelch
Sunny, hot environments require a shelter that offers shade. The ramada's flat roof doesn't give you leak-proof rain protection, but it does block all of the sun from beating down on you. Many ramada variations exist, but most are based on four posts, some lightweight beams and a suitable covering. Tarps, mats, or even brush will do well enough on the ramada's roof as a sun block. Add some removable walls to cut the evening breeze if temps cool down, and you have a very versatile desert shelter.
3. Quinzhee

The Quinzhee
Tim MacWelch
The quinzhee is a dome shaped snow shelter, similar in shape to an igloo, but much easier to construct. Snow must be just right to build an igloo, while most types of snowfall can be packed together for the quinzhee. To build one, start by piling up some moveable gear under a tarp. Backpacks are commonly used for this. Then pile snow over the tarp and gear. Pack the snow down, estimating when it is two feet thick all the way around. Next, insert 12 inch long sticks around the dome. Use 3 or 4 dozen of these guide sticks. Burrow into the side of the quinzhee, and retrieve the tarp and gear. Excavate snow inside the mound until you reach the base of every stick. This will ensure uniform thickness of the dome. Make a fist sized ventilation hole in the roof of the quinzhee.
4. Snow Cave

The Snow Cave
A snow cave may be the only shelter option in areas with deep snow. This is typically the most dangerous shelter to create, as the inhabitants could suffer from low oxygen or even be buried alive in a ceiling collapse. Snow selection is a critical part to the snow caves safe performance. Select a deep, solid snow bank or drift. Dig into the side of it, forming a tunnel into a low spot. This is the "cold well", which is a place where the colder air can fall and collect. Then dig up and over creating a shelf or platform to sleep on. This should be the highest part of the shelter. Dig a small hole about 6 inches in diameter somewhere in the roof for ventilation, especially if you plan on blocking the entrance with a doorway of backpack or big snow chunk.
5. Wedge Tarp

The Wedge Tarp
Tim MacWelch
This tarp shelter is best suited for windy conditions with a constant prevailing wind direction. The wedge provides an aerodynamic shape which should resist the most biting wind and driving rain. With a minimum of 5 tie down points, the wedge is more secure than most tarps, and it even provides two corners that act as rain catches. To build the wedge tarp shelter, stake down two corners of the tarp into the wind (not opposing corners). Then tie up a line to the center of the opposite side of the tarp. Tie the remaining two corners down toward the ground. Use more cord and a less steep angle for open wings and better ventilation. Tie the last corners down sharply for the best weatherproofing. Place a few rocks or log chunks under the tarp by the first tie downs to create deeper basins to catch water. This shelter is a dwelling and a water harvester in one.
6. Tarp Wing

The Tarp Wing
Tim MacWelch
This unorthodox tarp configuration is great for rain protection over a large area if you have a large tarp; or it can provide coverage to a smaller area when using smaller tarps. I use a 20 by 40 tarp in this shape over my campfire area when teaching classes. But, I have also camped under one that was 8 by 10 feet. The wing ties up opposing corners of a tarp, two up high and two in lower positions. It can billow like a loose sail in wind, but it works well to keep off both sun and rain.
7. Tarp Burrito

The Tarp Burrito
Tim MacWelch
The tarp burrito is a low drag shelter featuring zero frills and a 30-second or less set up. Simply lay your tarp in a likely shelter location. Fold one side over, about 1/3 of the way. Then fold again going in the same direction. This makes a roll of tarp with the seam underneath. Tuck one end of the tarp under itself to close it off, and shove your sleeping bag down into the open end. With this configuration, all of the seams are underneath you, pinned down by body weight, except for the door. Let it flop down in stormy weather, or prop it open if the weather is favorable. Just remember that you get what you pay for. With no time spent on ventilation, there will typically be dew or frost inside the burrito from water vapor produced by you during the night, especially if your clothes are damp. This will get your sleeping bag wet in all conditions but the driest.
8. Tarp Tipi

The Tarp Tipi
Tim MacWelch
A bit of rope, some poles and a tarp can give you all you need to build one of the most versatile and mobile shelters that Native Americans have ever employed - the tipi. Traditional tipis were once covered with large hides, then later with canvas. For our purposes, any large fabric will work, from parachute material, to sails, or a tarp. There are many traditions with tipi building, but for a quick field shelter, just call it like you see it. Use rope to bundle a few straight pole together or hook a few forked poles to lock in the first three or four poles. Then place other poles in a circle around the main supports. Pull the tarp or other covering into place, and tie down well. Try to size the framework so that you tarp covers it completely.
Practical tip: Make the tarp come together so that you have a door flap, which can be closed in cold or wet weather; or opened for ventilation and egress.
9. A-Frame Tarp Shelter

The A-Frame Tarp Shelter
Tim MacWelch
The A-frame is a tarp design that gives great coverage against rain and wind, when built close to the ground. When suspended higher, it still provides coverage from rain, but it allows more airflow underneath. A-frames go up fast. Once you pick your shelter site, you should have your tarp hung up in 10 minutes or less, leaving plenty of time in the day to accomplish other survival tasks. To get started, suspend a line of cordage between two trees or similar supports. Lay your tarp over the line and tie down all four corners of your tarp. This shelter is a great addition to a tarp hammock or strung up over a springy bough bed. You can even use a poncho as an A-frame tarp shelter.
10. Desert Tarp

The Desert Tarp
Tim MacWelch
This "double roofed" shelter dates back centuries among desert cultures, particularly in northern Africa and the Middle East, but it finally found widespread fame through the last century's military survival training. To get started with this shelter, you'll need two tarps and several dozen feet of rope. Find or dig your own low spot in the ground. Lay one of your tarps out over the low spot and drive each of your stakes at one corner of the tarp. Tie your tarp tightly to the stakes, and then tie the other tarp into place - so that it leaves one foot of air space between the two tarps. You can also fold over a larger tarp to create the two layers. Tie the tops of the four stakes to your four anchors, which can be stakes, rocks, logs or any other strong anchoring object.
11. Tarp Hammock

The Tarp Hammock
Tim MacWelch
This is a quick way to improvise a hammock to get off the ground in wet or bug-infested environments. Use an 8x10 tarp and some ¼ inch braided nylon rope. Start out with one of the long sides of the tarp and roll it up halfway across the entire tarp. Then roll up the other long side to meet the first, so that the whole thing looks like a 10-foot long, two roll bundle. Now, tie a sheet bend securely to each end of the tarp, leaving 15 feet or so of rope on each end to tie to your trees. Select leg-thick or thicker trees about 10 feet apart, and securely tie the end of each rope to a tree, as high as you can reach. Wrap around the tree twice for good grip on the bark, and then use two half hitches, with an extra hitch for added security. Tie to the trees high up to compensate for the settling of the hammock as the knots cinch down. You can tie up another tarp as an "A" frame between the two trees that the hammock hangs from to give yourself a roof.
For buggy locations: Tie a small bit of cloth to each of your hammock lines, and soak it with bug repellent. This should keep some of the bugs from walking the line down into your hammock. For snake and insect proofing, soak the rags in kerosene, but keep any open flames far away from the fuel soaked cloth.
12. Bough Bed

The Bough Bed
Tim MacWelch
This is not a shelter by itself, but it makes an outstanding addition to any other shelter type. To make a bough bed, you can use leaves, grass, evergreen boughs, or other plant material. Cedar and pine boughs are common enough in many places, but fir boughs make the softest bed. For the bed frame, roll up two logs, side by side and about 3 feet apart. Make sure they are longer than you are tall. Fill the void between the logs by laying down the boughs, several at a time. Dead, dry leaves or dead grasses can be a great addition if you have them. In snowy conditions, you'll just have to stick with the boughs. Make the mattress so thick that you are at least 6 inches from the frozen ground or snow surface when lying down. Keep adding armloads of boughs or other vegetation if the mattress compresses too much or isn't warm enough.
13. Wicki-Up

The Wicki-Up
Tim MacWelch
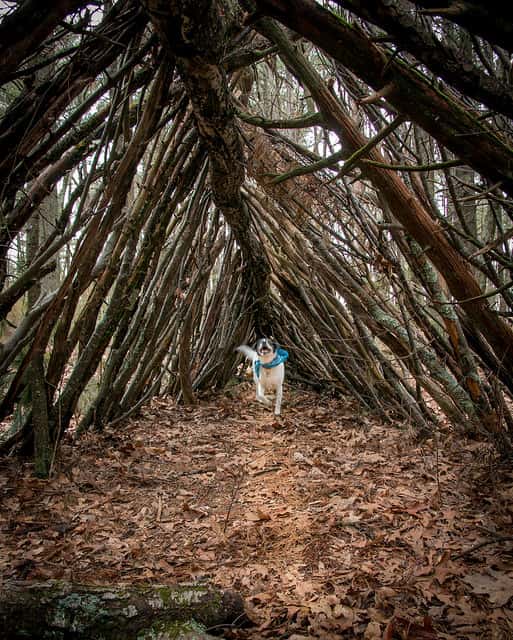
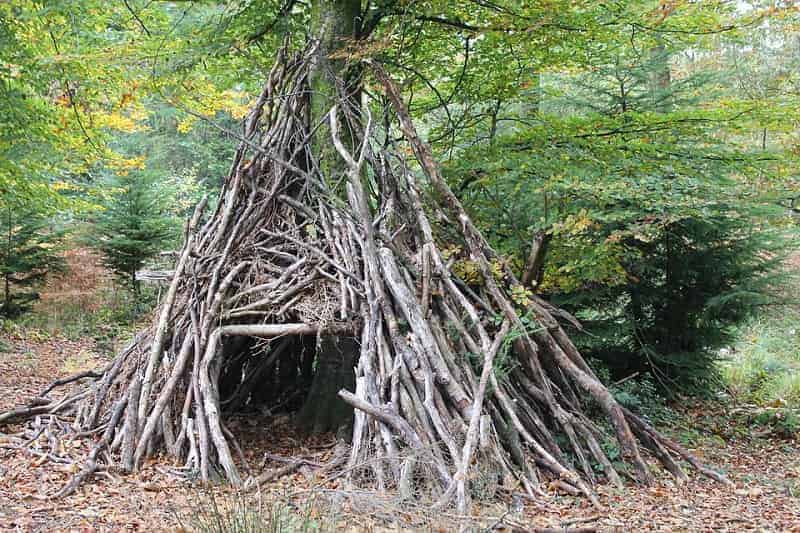
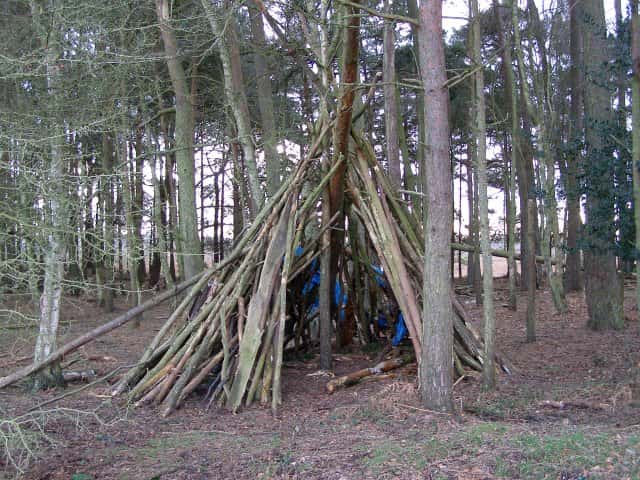
The wicki-up is a bit like a small tipi made from poles, brush and vegetation. This shelter can be found across the globe, but has been most frequently documented in the American Southwest. Thicker brush, grass, and leaf coverings along with a steeper roof can make this shelter suitable for climates with occasional rain. A broader, squattier structure covered with light brush can give you a shady, ventilated shelter for hot, dry climates.
Collect several dozen poles, some with forks at the top. Lock a few of these forks together to build a freestanding tripod. Then lay the other poles around to create the tipi frame. Finish with the vegetation layer. If the wicki-up is large enough, and the vegetation covering the roof is wet or green material, it may be safe enough to risk lighting a tiny fire inside.
14. Leaf Hut

The Leaf Hut
Tim MacWelch
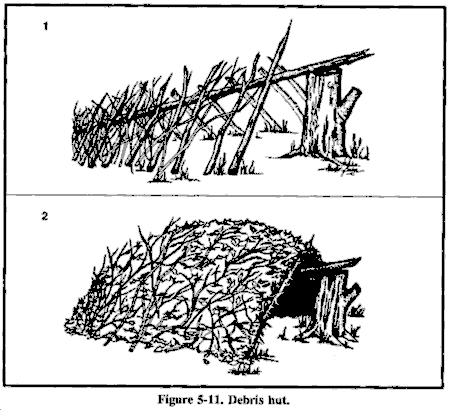
The leaf hut is a two-sided, wedge-shaped lean-to with much better weatherproofing and insulating qualities. To build one, select a long, sturdy pole 9 to12 feet long. Prop it up in the fork of a tree; or set it on a rock, stump, or two forked prop sticks. Then, cover the sides of the pole with tree branches to act as ribs. These are placed at an angle along both sides of the ridge pole. Place the ribs close together so that your hut covering won't fall through. Next, heap vegetation over the framework (this can be anything that traps air, including grass, ferns, moss, pine needles, brush, or pine boughs). Two to 3 feet of vegetation covering all sides of the shelter is enough to keep you dry inside. Finally, fill the inside of the hut with a thick pile of vegetation for your bedding.
In case of high winds: A layer of brush, sticks, twigs or branches should be thrown over the whole hut to keep the wind from stripping the vegetation away.
15. Lean-To

The Lean-To
Tim MacWelch
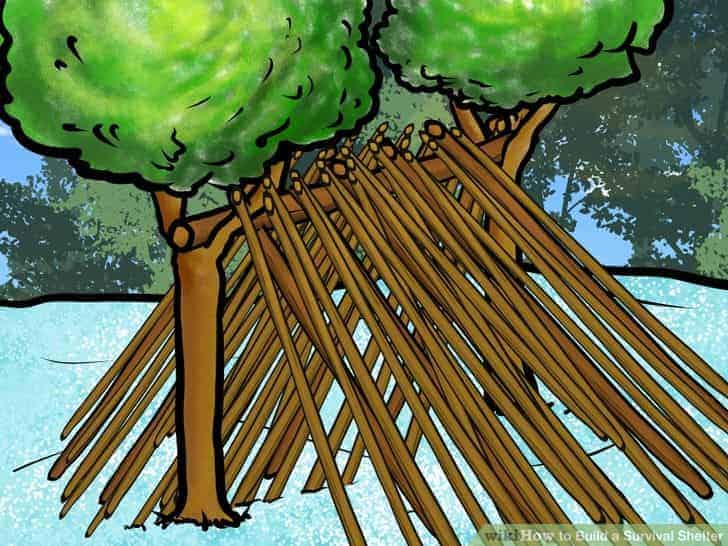
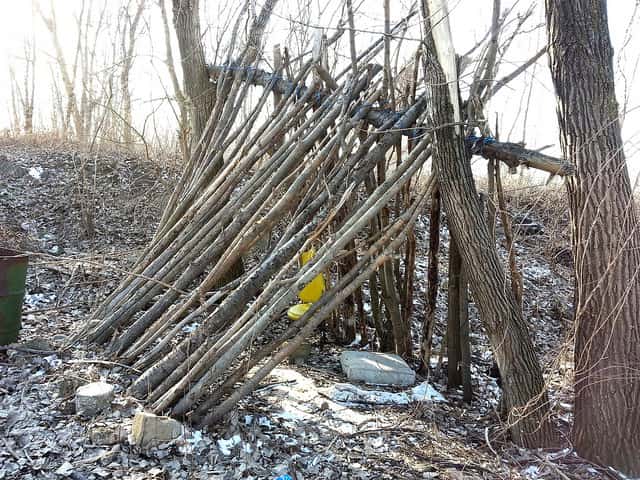
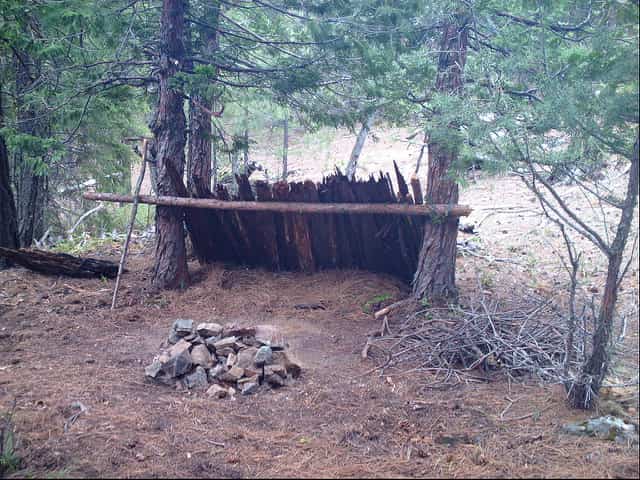
The lean-to is one of the simplest and most frequently constructed primitive shelters. It can be set up in less than an hour with a variety of materials. This basic, one-sided design will give you a haven from wind and rain that the wilderness might throw at you.
Securely support a long, stout pole between two trees. Cover one side with poles, brush or branches. Then, heap leaves, grasses, palm fronds, or any other vegetation that is available on top. This shelter has two main flaws: 1) it doesn't hold in heat well; 2) If the wind or rain changes direction you'll no longer be sheltered. Think of it as a house with only one wall and half of a roof. It offers little in the way of insulation; and merely deflects wind and reflects the heat of the nearby fire.
On the upside, it's quick and easy to build.
Don't forget: Natural shelters like this are difficult to see from a distance, so hang up something bright like a flag to mark the shelter.